I never thought I would have my own blog. The first reason being that I thought it wouldn’t be for me. I was one of those people who took AP English all through high school and hated it. Being a writer was on the list of things I didn’t want to do, but surprisingly when I outlined my first blog, everything came easily to me. Another surprise was that I actually enjoy it. Here is my process.
Headline and Outline
Once I have my topic, I create a headline and then outline my blog post. This is funny because this method goes back to elementary school English class. My teacher always made us brainstorm our topic and create an outline. Who knew that this would still be useful?
This method keeps my train of thought and makes sure that I don’t stray off topic. It also lets me know which key points I want to highlight in my post.
Rough Draft
Since I outlined the blog post before starting the rough draft, the blog process is quick and easy. When I start actually writing the rough draft, I don’t have to wing it. I know exactly what I want to write.
I also want to note that if I am describing or demonstrating something in a blog post (like how I use asana or Learn HTML), I take screenshots before hand. Having the pictures beforehand helps me organize what I want to write if it’s in a certain order.
Blog Graphics
Because I’m lazy, I like to use Canva (canva.com) to create my blog graphics. In the beginning, I created everything in illustrator, but it was too time consuming. Currently, I create the background of the blog graphic in Canva and then create the shapes and text in illustrator.
As of now I’m updating the style of my website, so I might start creating blog graphics with images. I will still add the text in illustrator because the fonts I use are not available in Canva.
Edit the Rough Draft
I always have 2 people proofread my blog post. I’m the type of person who thinks way ahead of her writing. This causes me to think I wrote something in detail, but I didn’t. In the end, my editors are like, ‘where did this come from?’ or ‘you didn’t explain what this means?’.
It’s always good to have someone proofread, because other people have a different perspective from yourself. My editors have no design experience so they help me explain some things more simply.
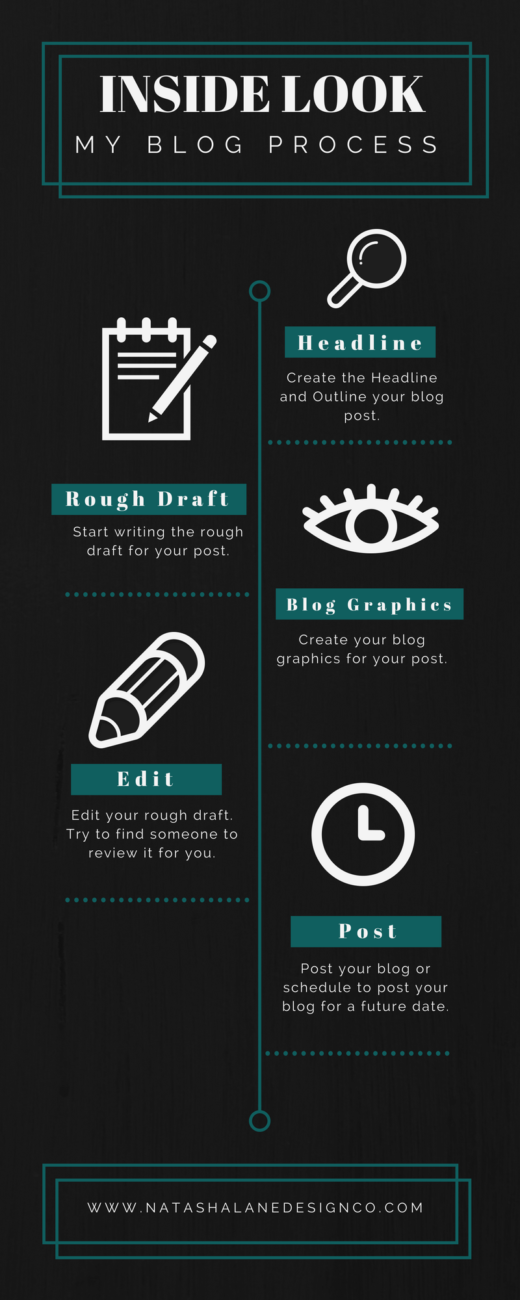
Schedule the Post
After editing my blog post, the next process is to copy and paste it into WordPress. Since I always write my blogs a few months in advance, I have to schedule when to post the blog. To learn how to post a blog in WordPress, refer to the post How to Create a Blog Post in WordPress.
Since this blog post ran a little long, I will continue this in the next newsletter. In the newsletter, I will talk about batch days and brainstorming ideas. I will also add a workbook to the free resource library (you get the password to this by subscribing to the newsletter). Subscribe to the newsletter below.

-Paigon | Natasha Lane Design Co.