When I first tried to set up mailchimp to send out my blog posts, I had a difficult time and I didn’t really see any information on how to set up mailchimp to send out blog posts, so I wanted to share my process.
Log into MailChimp
First log into mailchimp. If you don’t have a mailchimp account, signing up is easy. If you have less than 2,000 subscribers, it’s free (http://mailchimp.com).
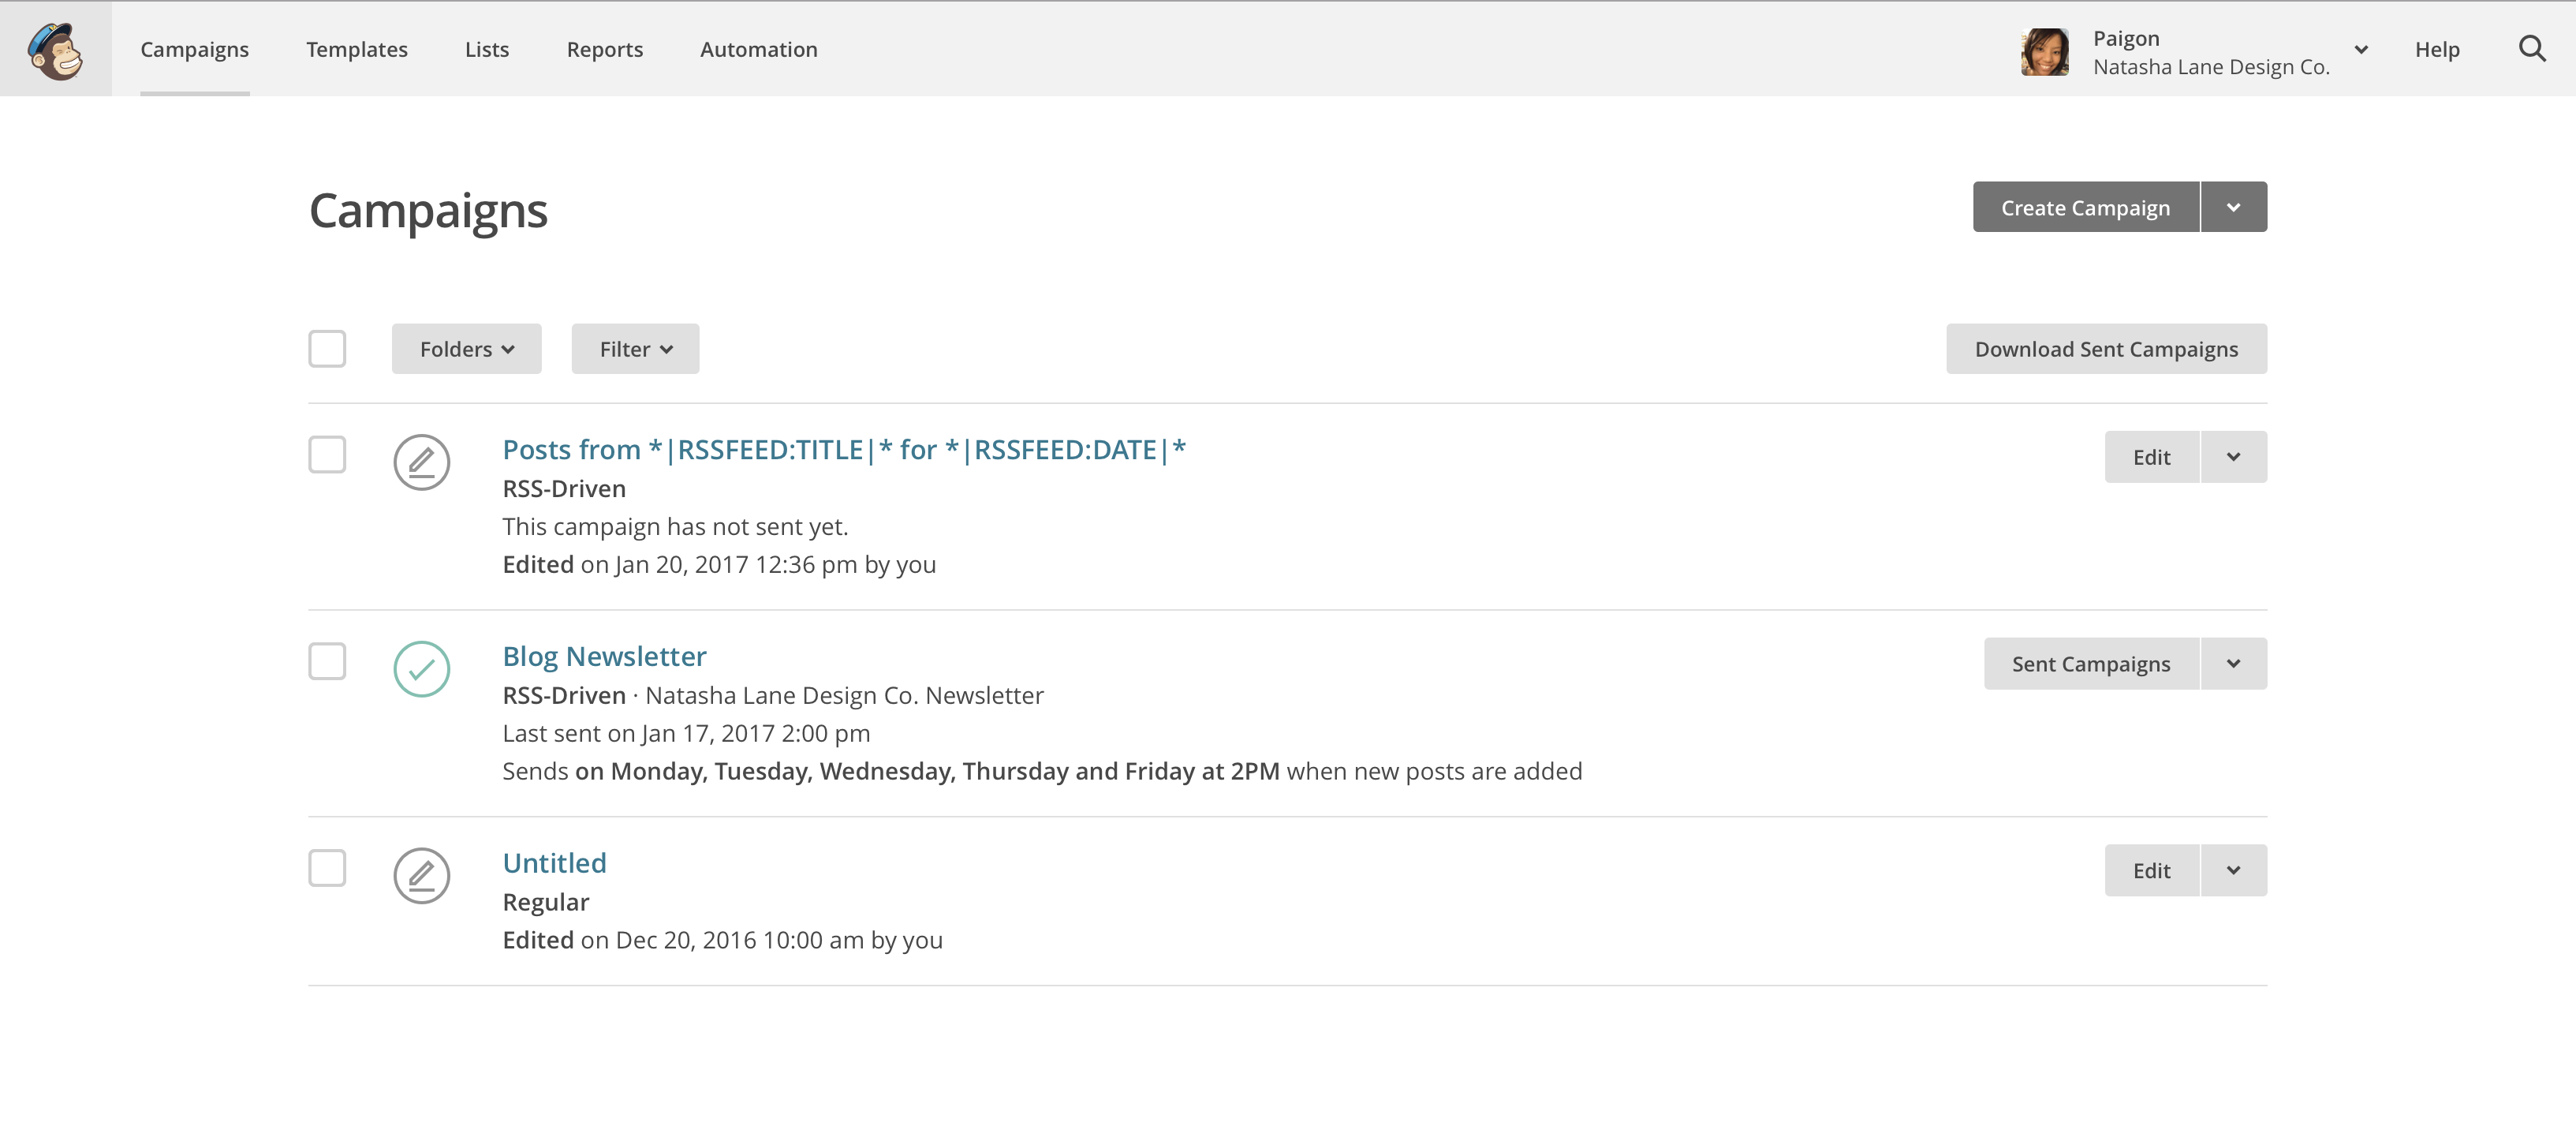
Once you’re logged in, select Campaign at the top of the screen.
Setup New Campaign
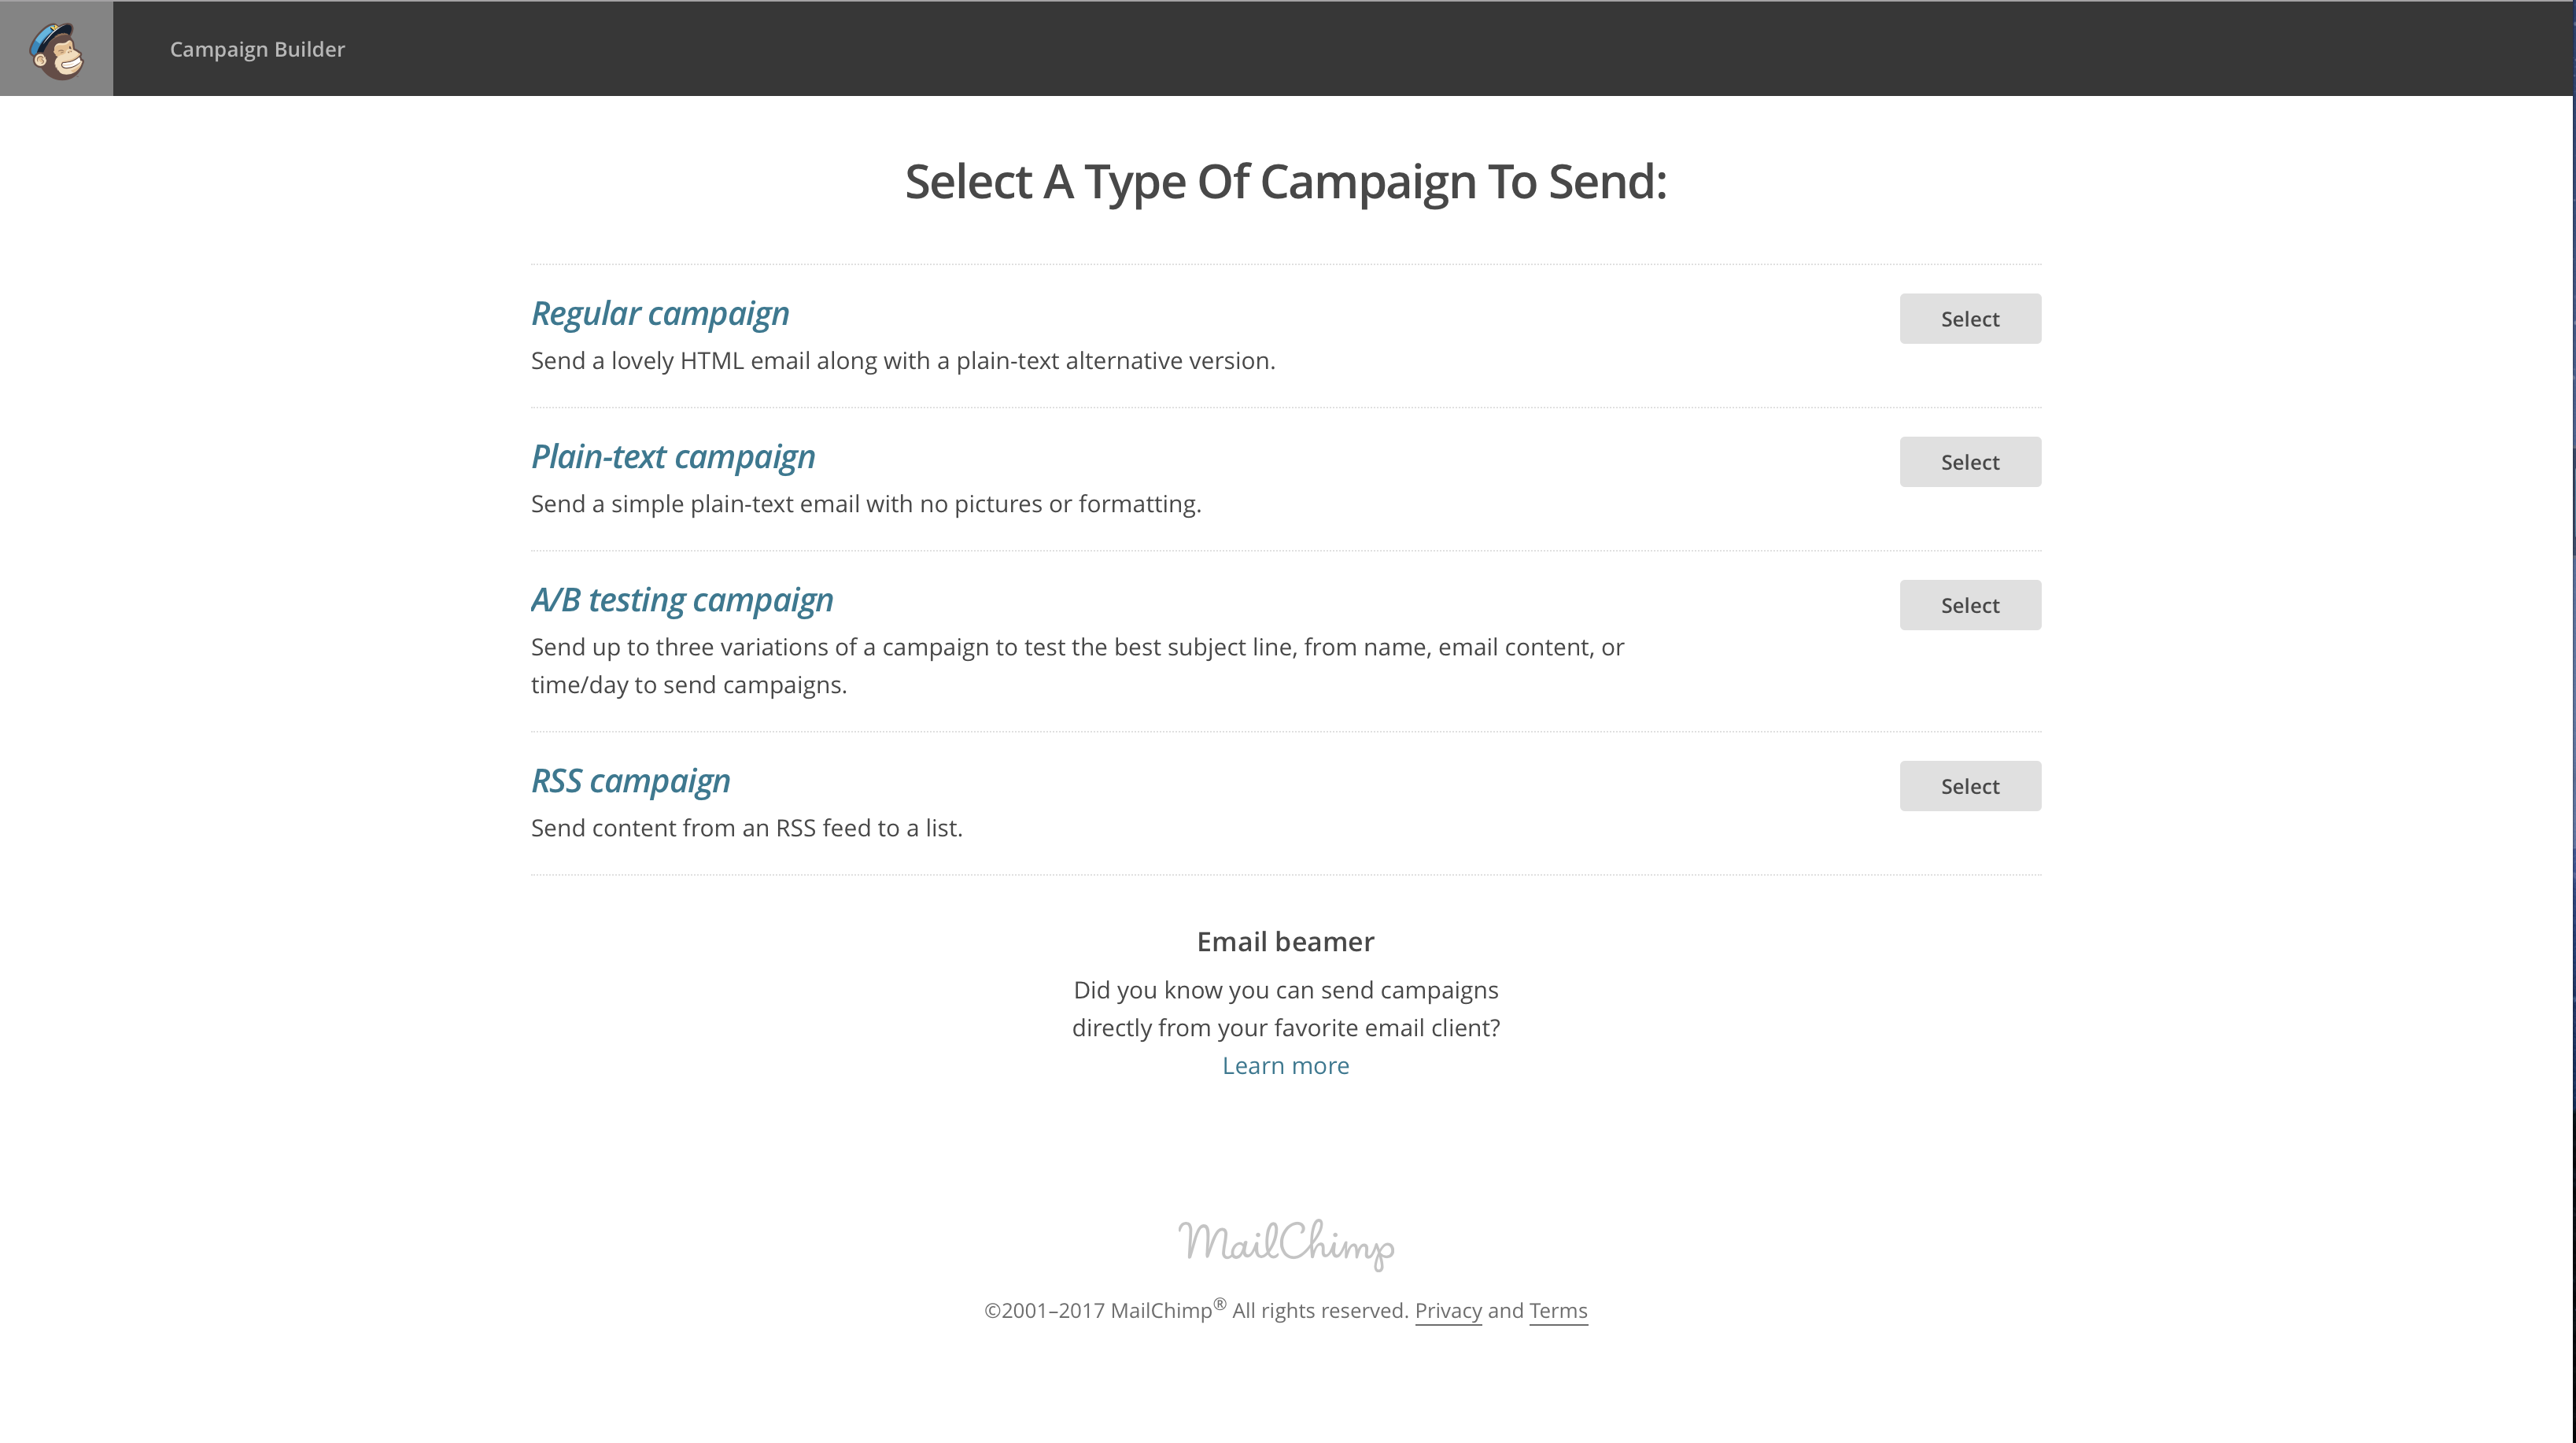
At the top you will see a button that says Create Campaign. After choosing to create a campaign, you have to select a type of campaign to send.
Since we are setting up a newsletter to send out blog posts, select RSS Campaign. Now you setup the url for your blog and when you would like to send out the newsletter.
If you don’t know the RSS feed, just add the url for your blog. Now choose the time and dates you want your blog to be delivered.
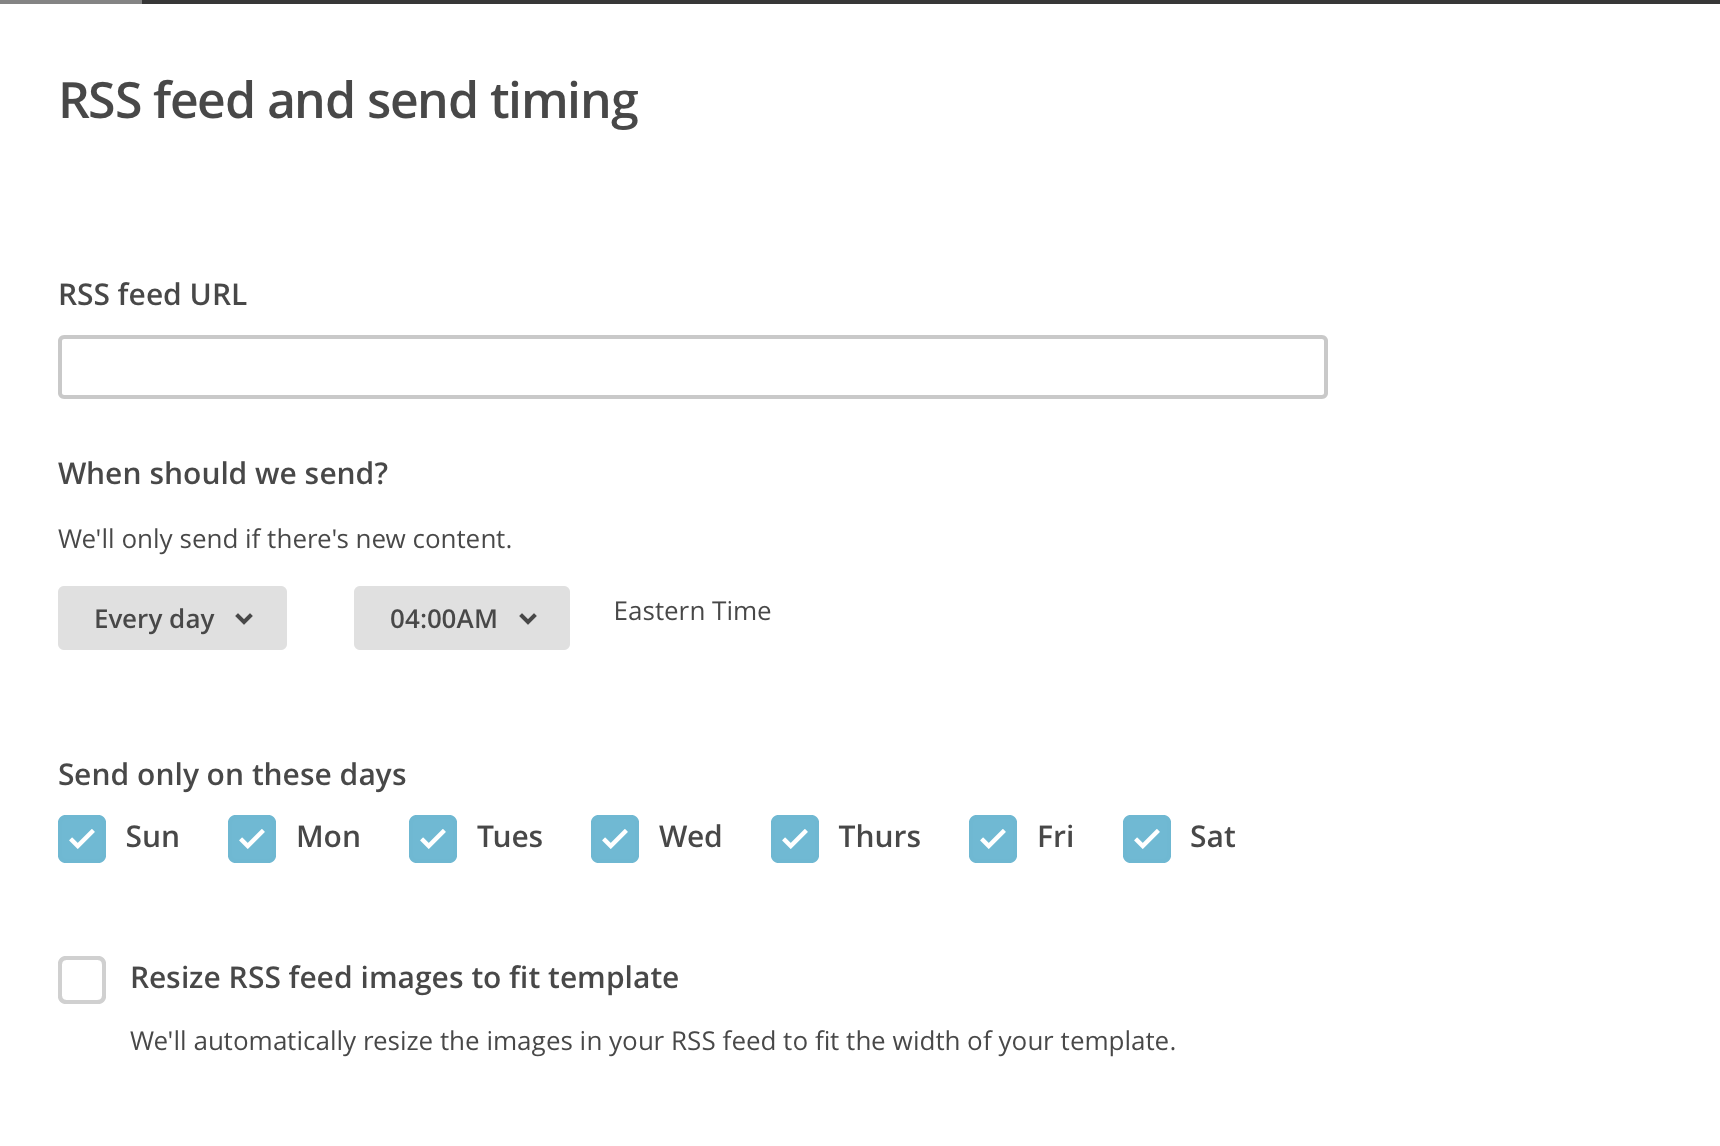
Then at the bottom of the screen select next and you will choose the recipients of the newsletter. After choosing who you want to send the newsletter to, select next again.

You should be on the screen that says campaign info. Add the campaign name and anything else that applies to your newsletter.
Start Designing Your Template
Now it’s time to design the newsletter. First, choose a newsletter template. The easiest one to choose is the Basic RSS. This was the difficult part for me. I chose another template and added my own text, but I was missing information.
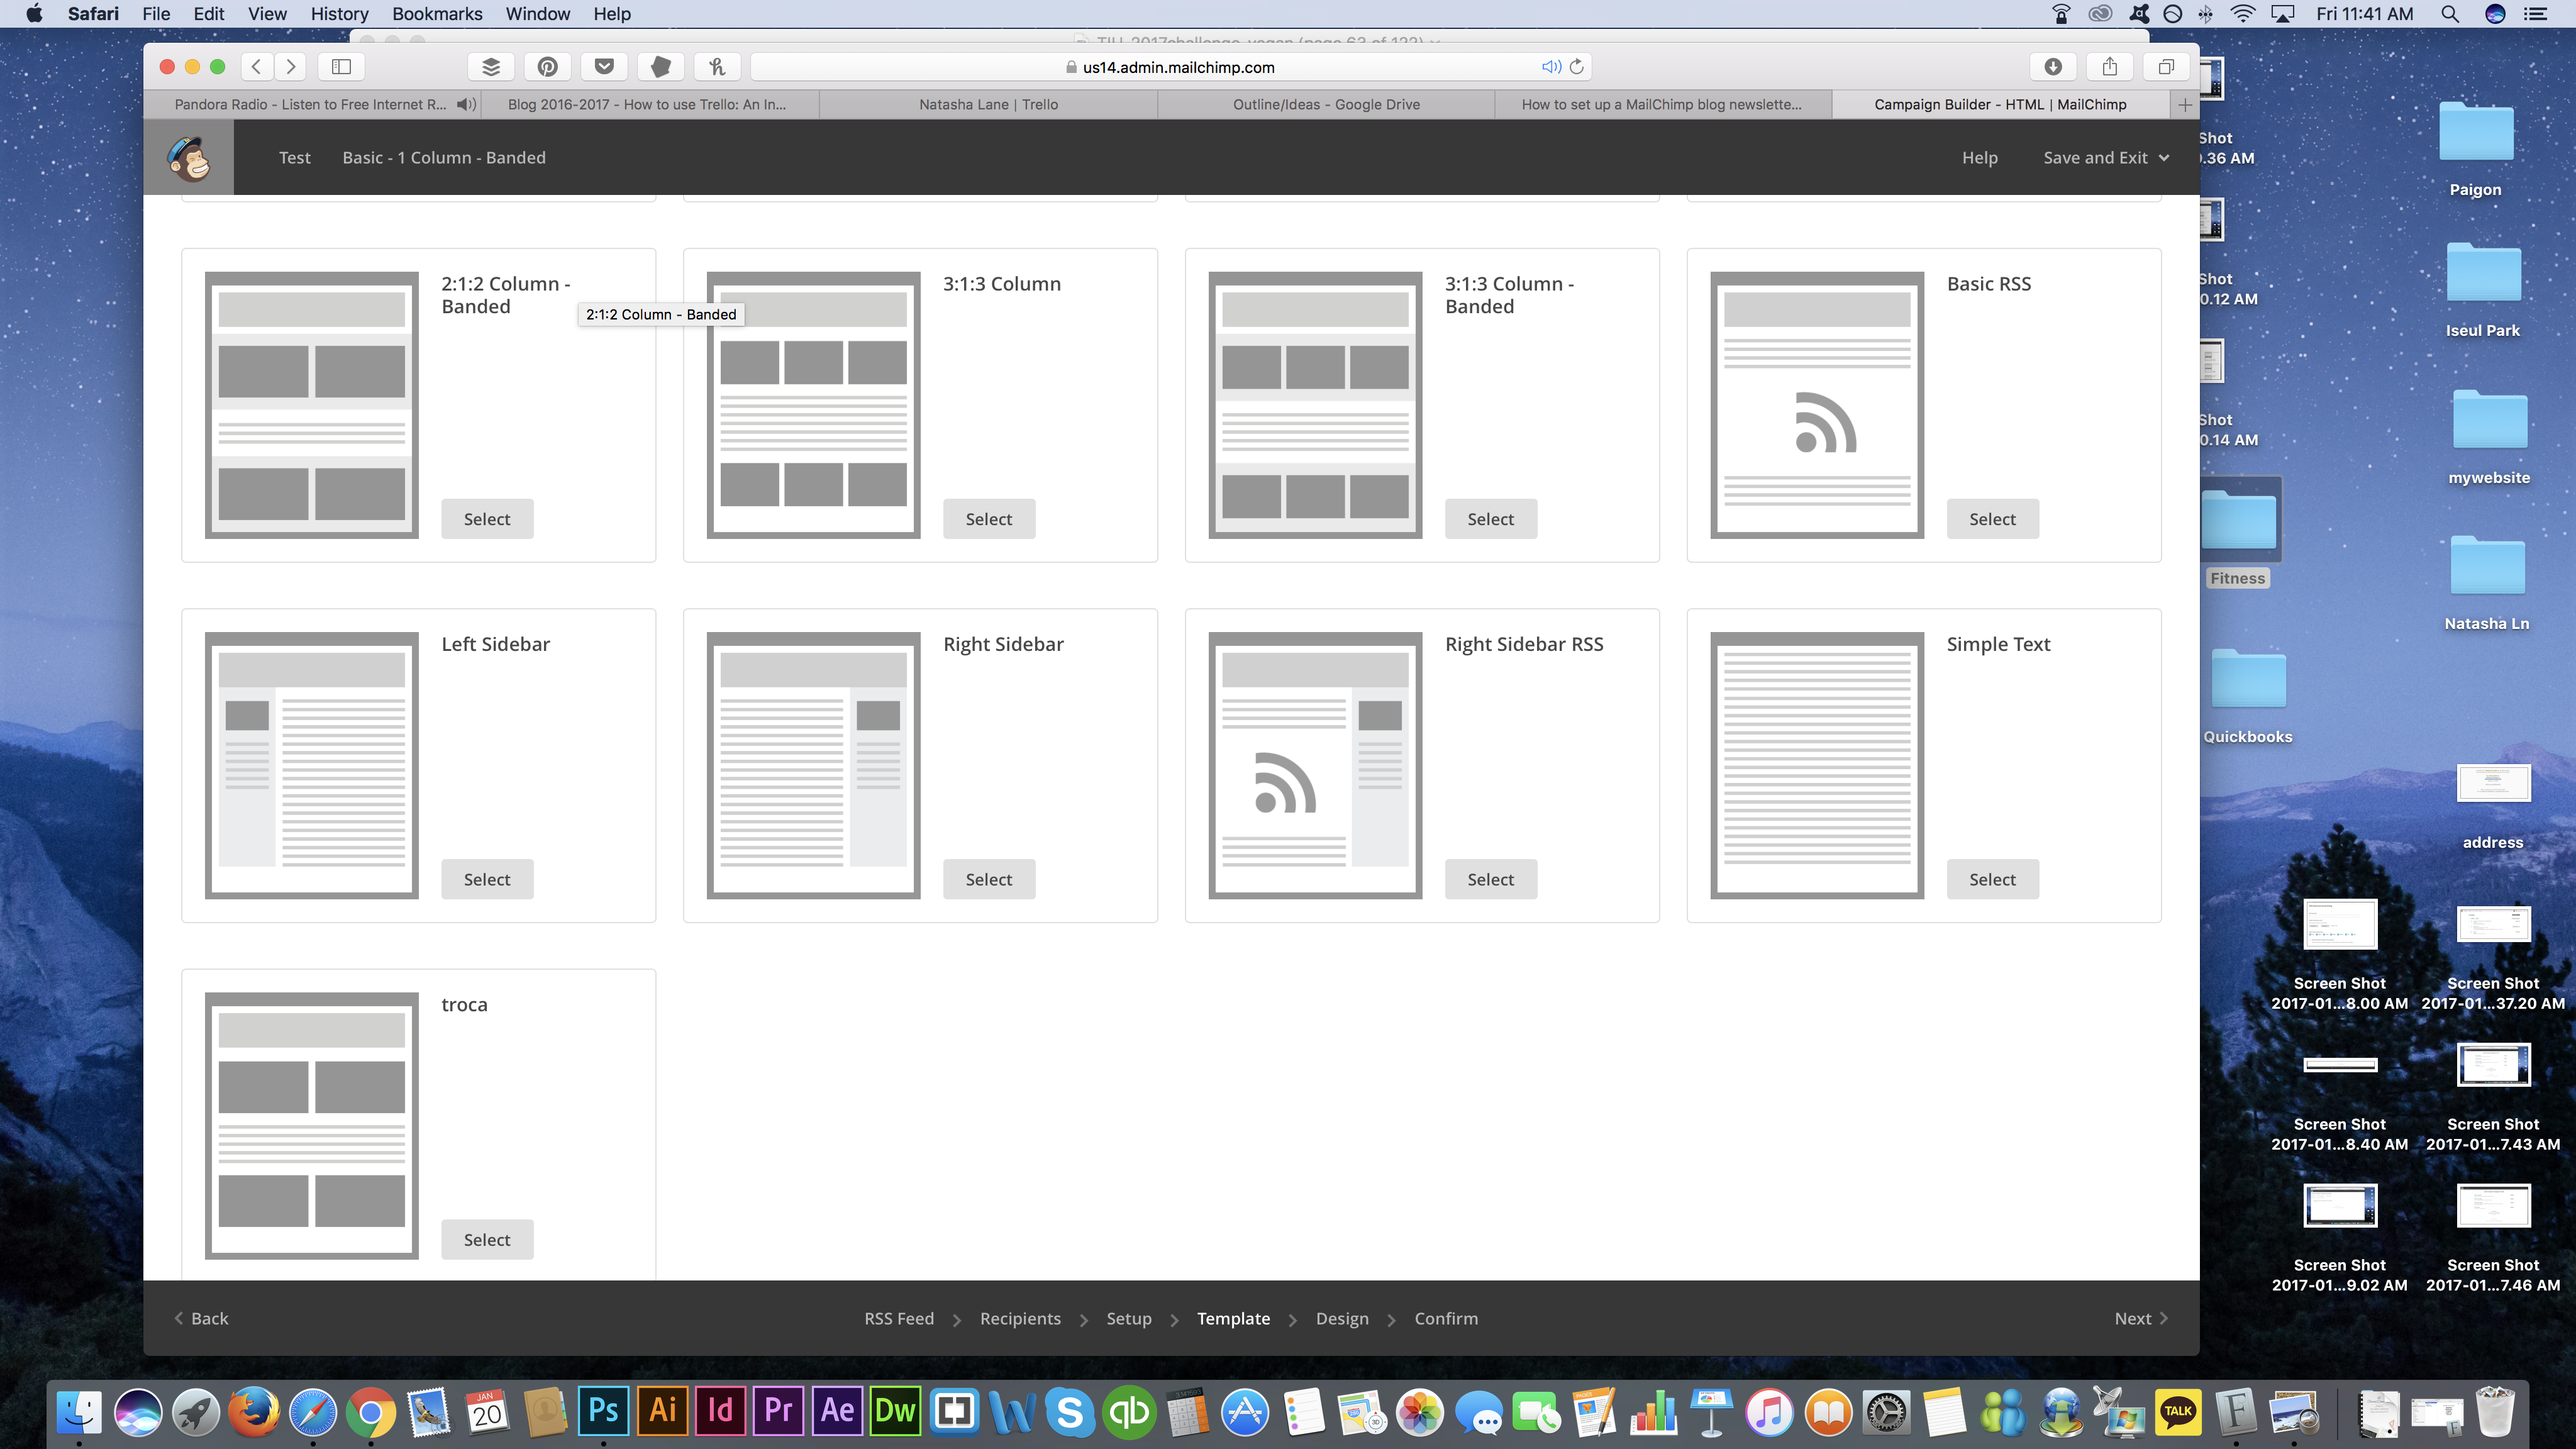
The Basic RSS has everything you already need built in, you just have to design it. Once you select Basic RSS, start designing. Add your header image (I used the Natasha Lane Design Co. Logo), change your text colors, fonts, text, and etc.
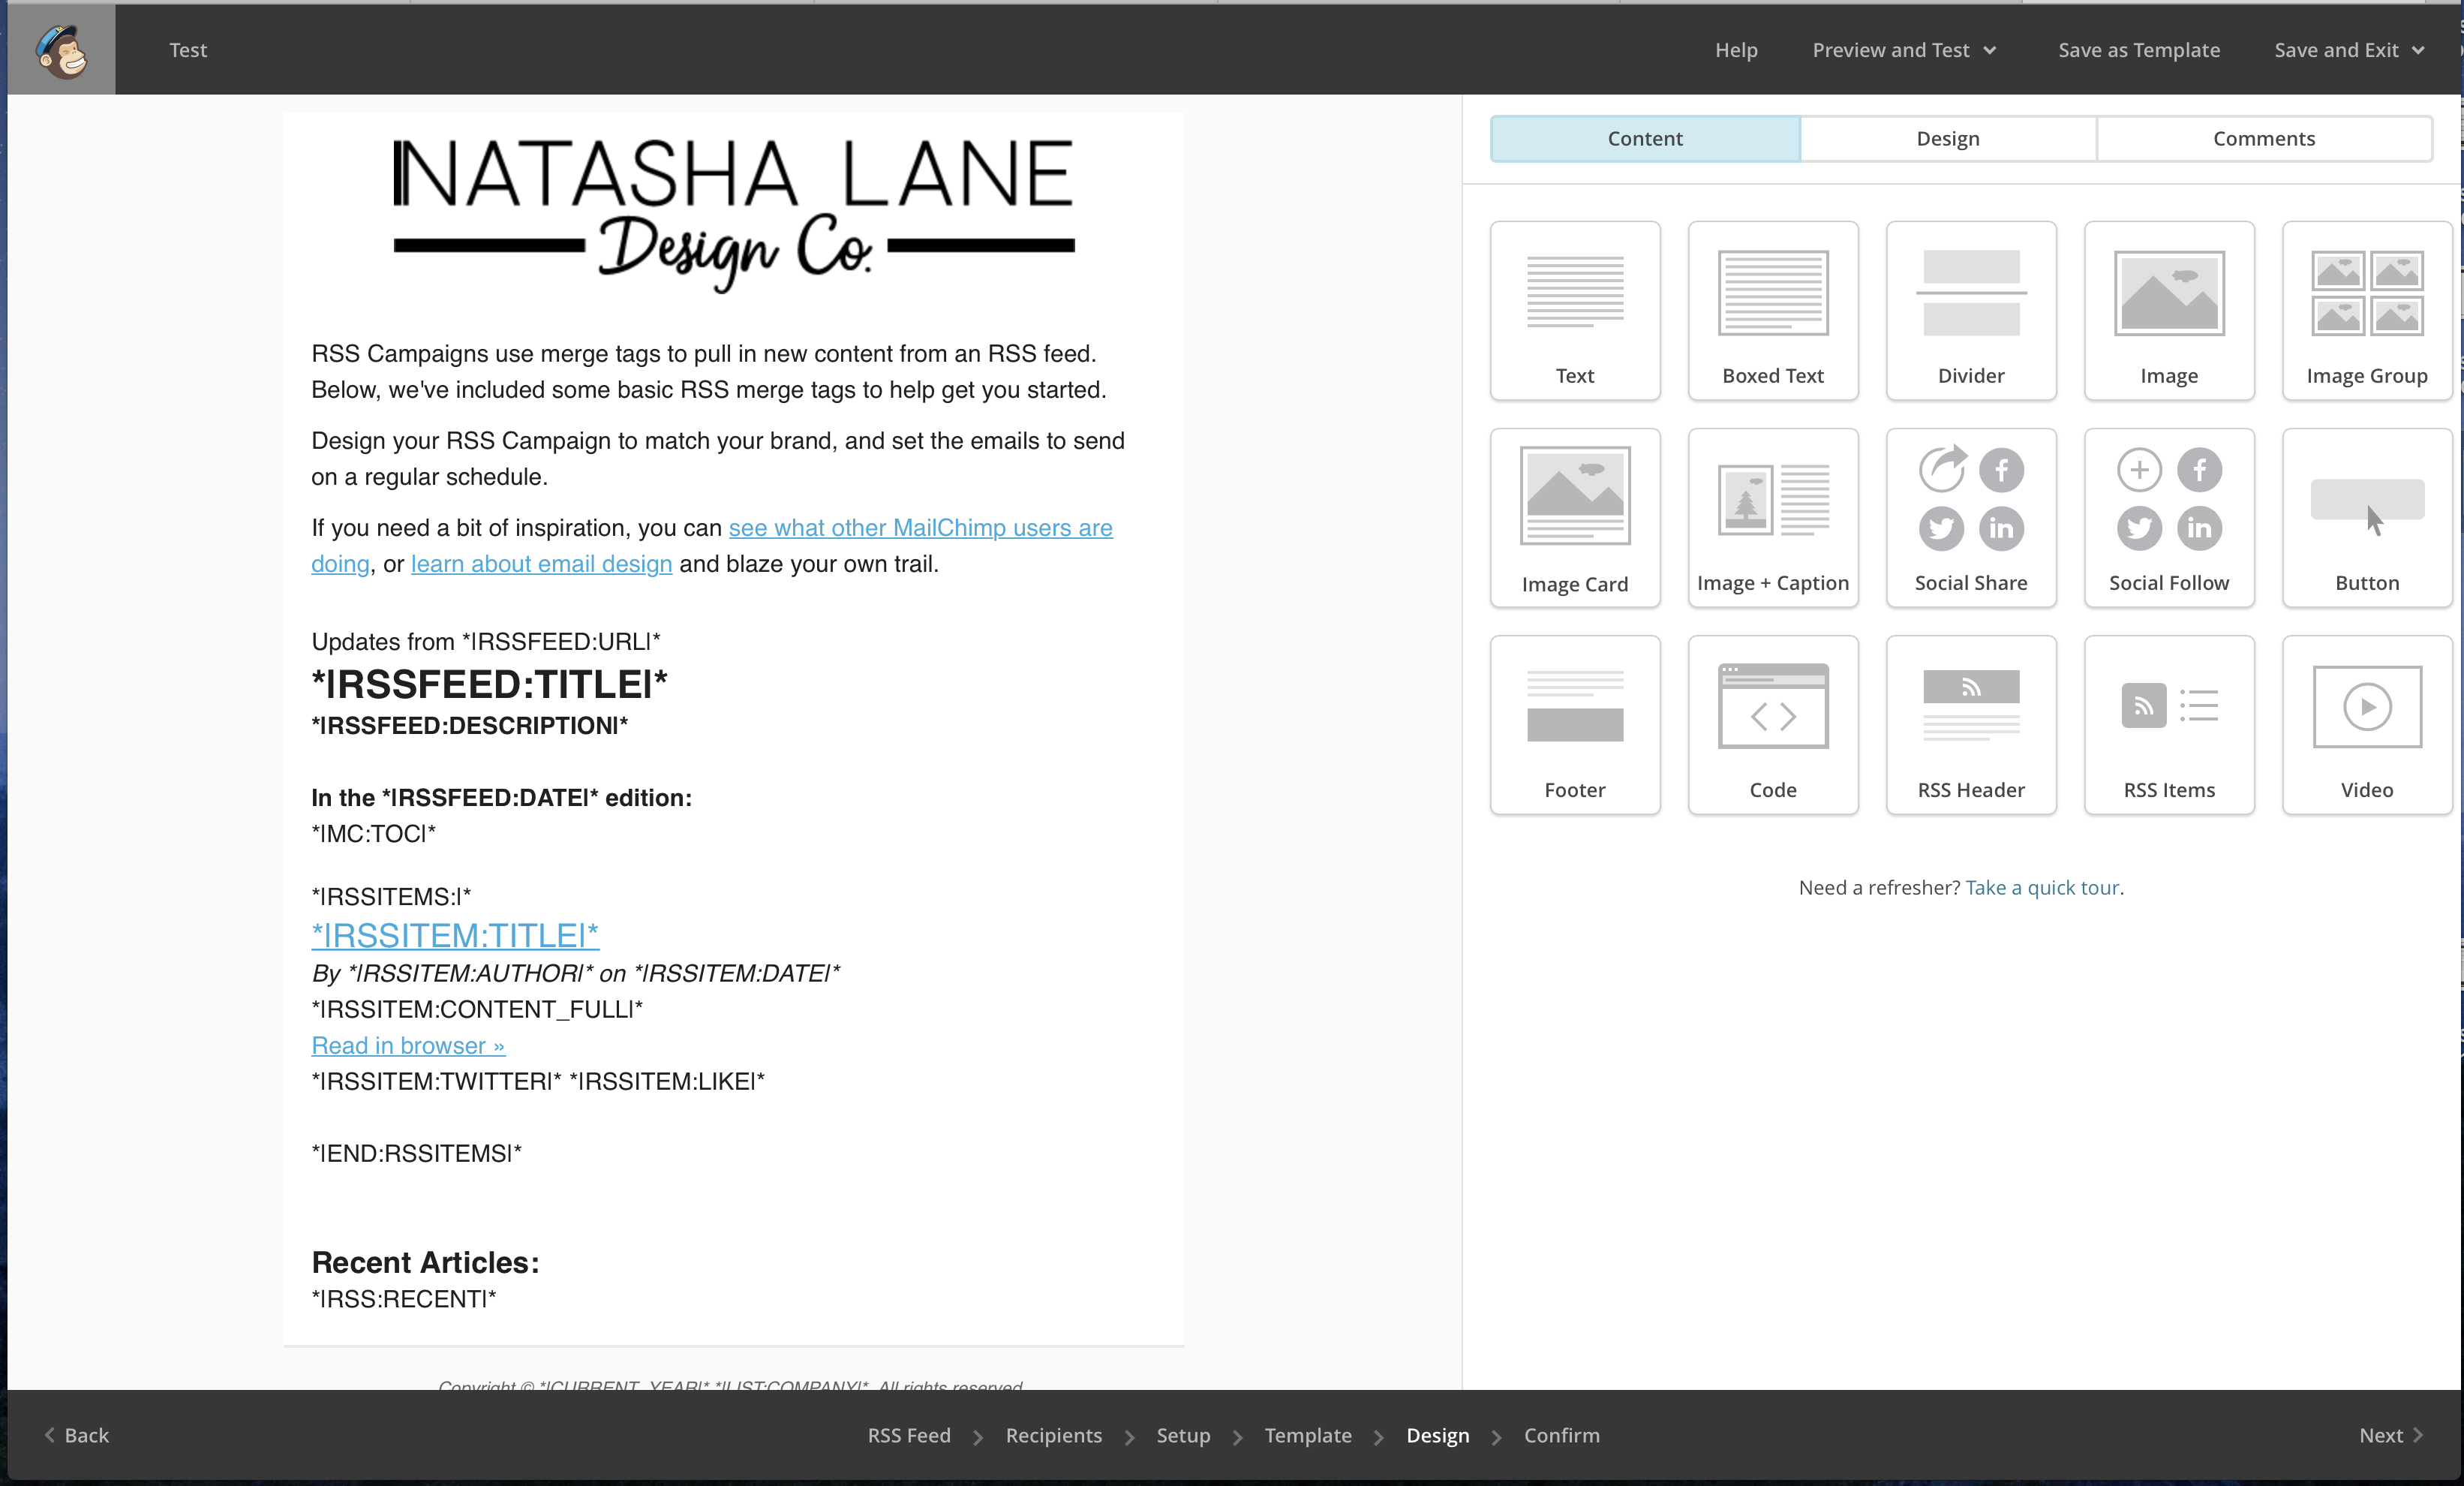
I ended up only adding the header, changing the colors to my brand color, and changing the font.
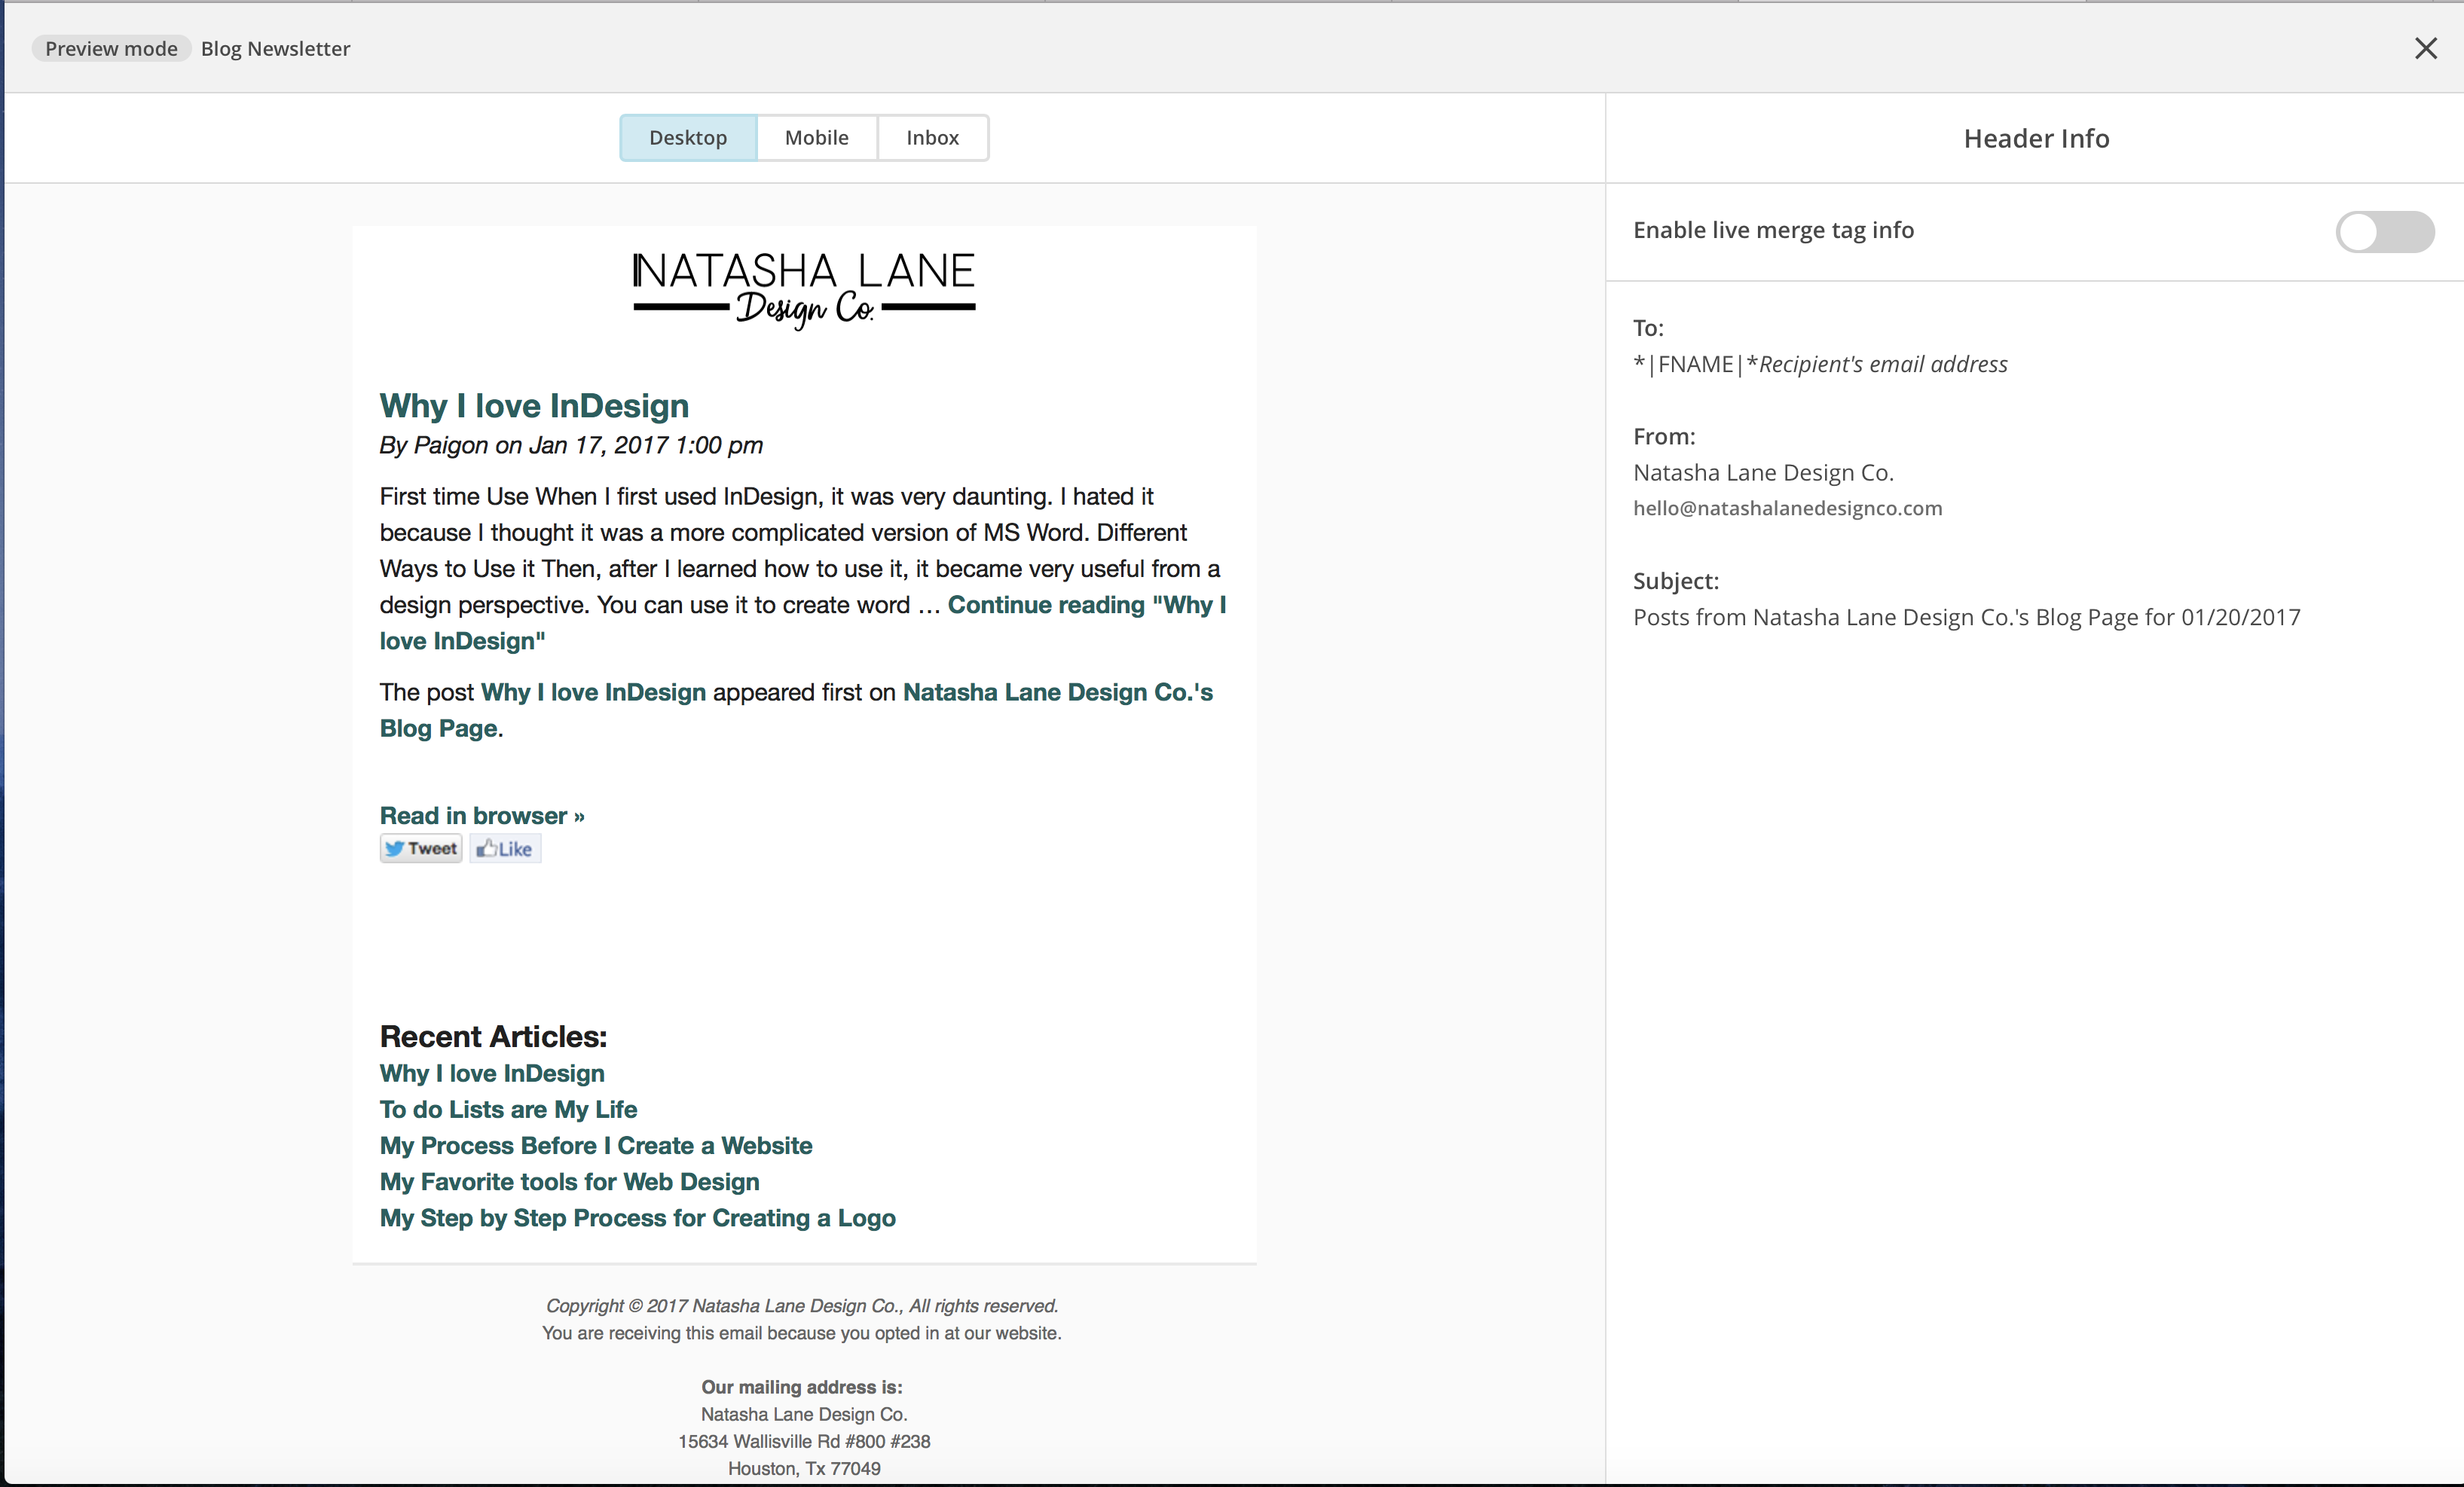
Preview and test
After you finish designing your template, preview and test (it’s at the top right of the screen). Once you’re satisfied, click next at the bottom of the screen to confirm.
Confirm and Start RSS
When I confirmed, I had an error. If you scroll down, mailchimp will show you the error. My error was that there was still default text in my email (image below).
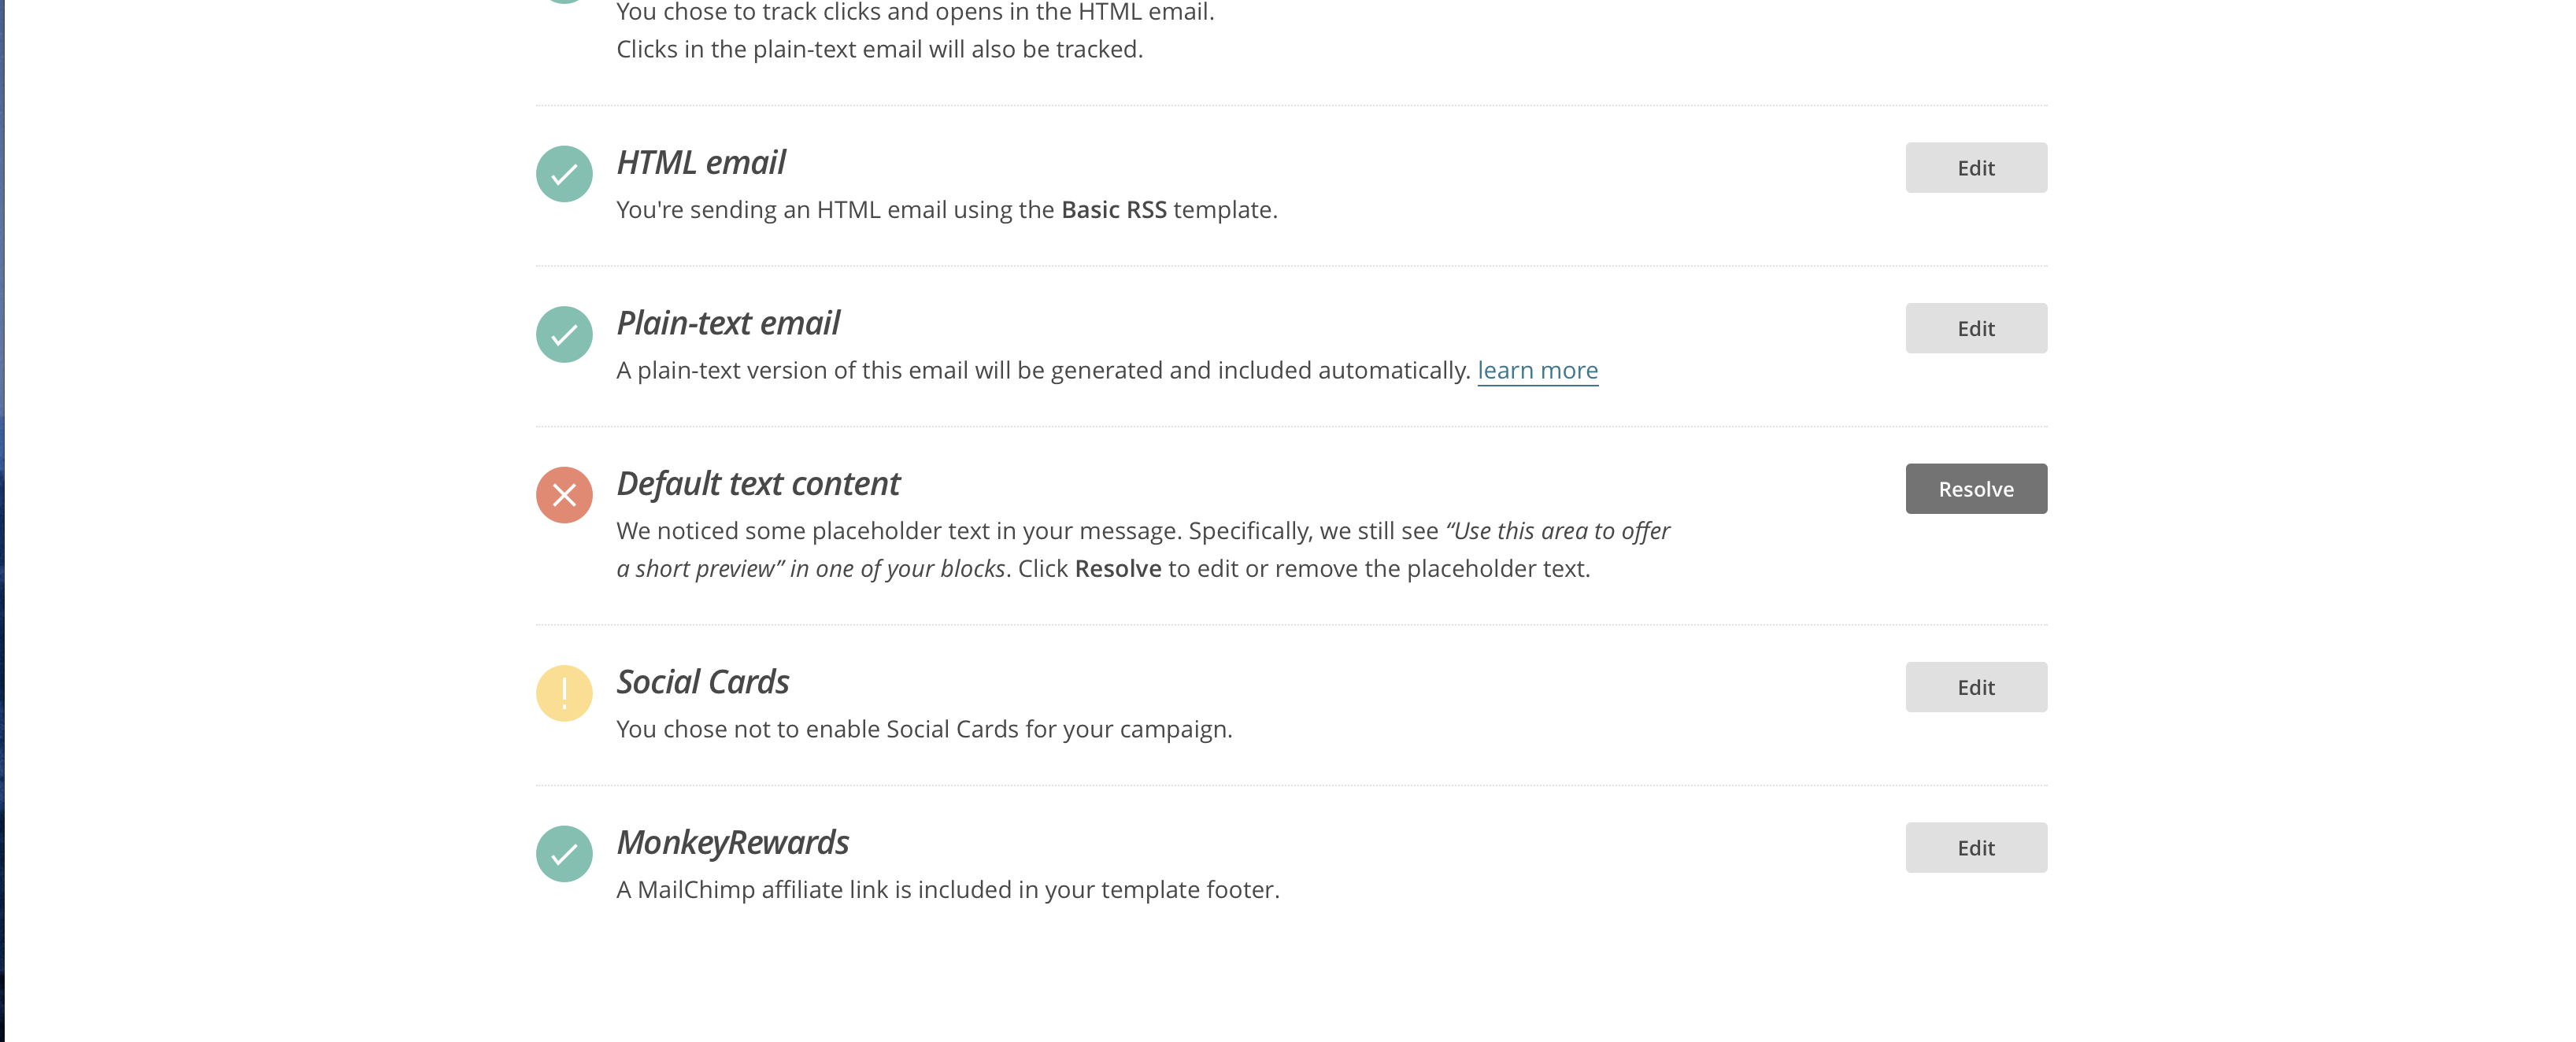
I corrected the error and continued. Now the campaign is active. You can always pause it and preview it by going to the drop box next to your campaign name.
Let me know if this was helpful to you.
– Paigon | Natasha Lane Design Co.