I don’t know about other people, but I love structure. No matter what field I’m working in, I love to be organized (even what looks like a mess is actually organized in some way) and streamline my work process. This is an inside look at my client process from onboarding to project completion.
Client Process: The Inquiry
When a potential client emails me, I send a welcome email that takes them to my onboarding page. This onboarding page includes:
- A detailed look inside my design process.
- My pricing and design packages.
- Timelines for each package.
- How payment works.
- Frequently asked questions.
After they read through this page, they have the option of scheduling a consultation call with me on Skype.
Note: Depending on which package the client chooses, this could look a little different, but the overall process is still the same.
01. Free consultation.
The client can ask me any questions, and we can see if we’ll work well together. After the call, I will email them summarizing our call and give them information on how to book my services.
02. Pay your deposit.
If the client decides to move forward after our consultation call, they’ll need to pay a 30% deposit to secure their spot in my schedule. 50% of the remaining balance is due at the start of the project, and the final 50% is due when the project is complete. The final payment must be made before the final files are delivered.
03. Sign my contract.
Once the deposit is paid, I will send a contract. We’ll both sign the contract to be sure that we’re both protected, and we’ll each get a copy of the contract.
04. Project management.
After the contract is signed, I will add the client to Asana (Project Management System). We’ll use this to communicate, keep track of our project, and they’ll also be able to give me their files and feedback using Asana. I’ll provide a client portal with a tutorial on how to use Asana.
05. Homework.
The client will fill out a questionnaire so that I can get to know their company and clients better. If they signed up for the Branding x Web Design package or the Logo x Branding package, they will also need to create a secret Pinterest board. They’ll fill this board with inspirational images that relate to their brand.
If they signed up for the Branding x Web Design package or the Web Design package, they will upload their website content to Asana and purchase their domain before the project starts.
06. Consult call.
1 week before the project begins, we’ll talk on Skype for a 30-minute consult call.
07. Creative brief and mood board.
I’ll start the design process by creating a mood board (aka inspiration board) that summarizes their brand aesthetics. The creative brief will help us both get on the same page when it comes to styling and knowing the target audience prior to diving into the design portion.
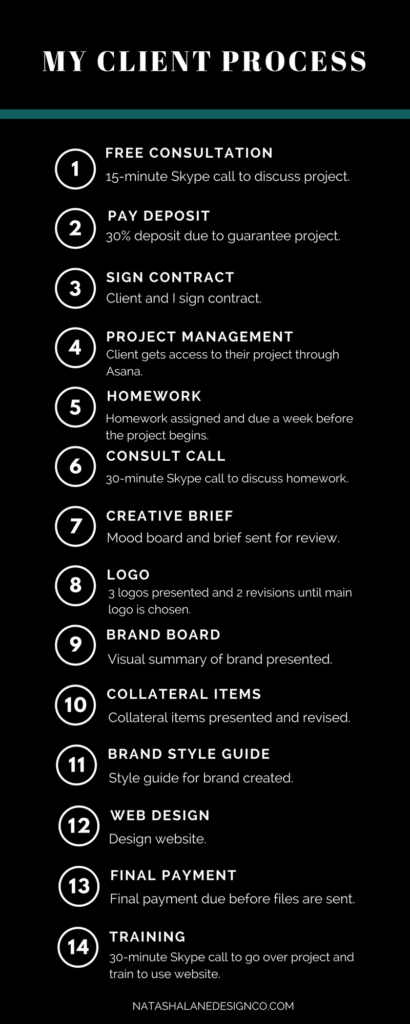
08. Logo.
I’ll present 3 ideas for the main logo to the client. They’ll choose the one that fits their brand the most, and then I’ll refine it over two revision rounds. When the main logo is complete, we’ll move on to the brand board.
09. Brand board.
The brand board will include the other brand elements listed in your package (logo variations, sub mark, patterns, and fonts etc.) They’ll get to see all the elements on one board. Then they get 1 revision to refine their brand board.
10. Collateral Items.
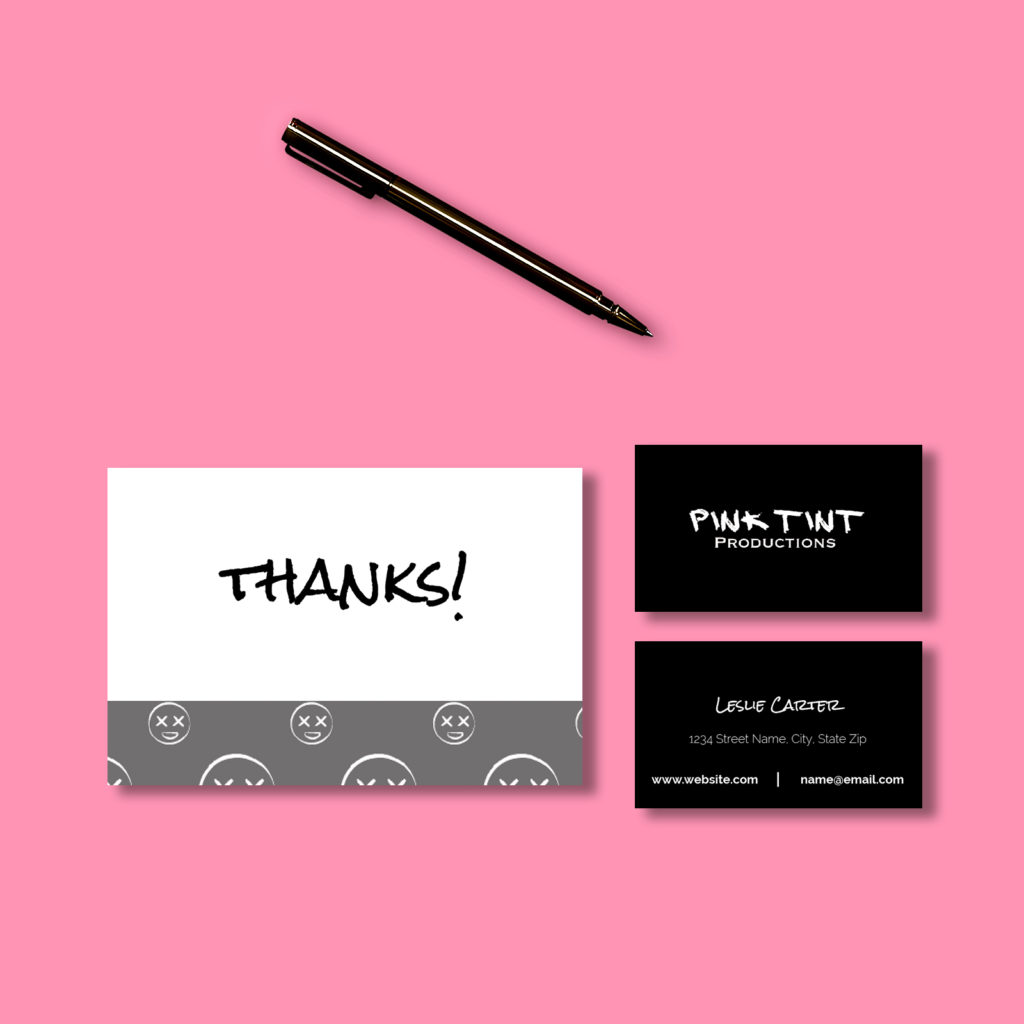
Once we have the brand board set, I will start creating the collateral items. These include newsletter templates, blog graphics, business cards, worksheet template, etc. The client gets 3 choices in the Logo x Branding package and 4 choices in the Brand x Web Design package.
11. Brand Style Guide.
Once the Brand board is complete, the client will get a Brand Style Guide which will help them stay in line with their brand in the future.
12. Website design.
First, I’ll create different wireframes for the website. After the layout of the website is approved, I will create a prototype of the homepage in Photoshop, so we can make sure the client likes the design before I start creating the live website.
Once I create the live website, the client gets 1 revision to request any changes that they might like.
13. Final payment.
Before I hand over the final files and website, the client needs to complete their final payment. After I receive payment, I’ll then send them the link to a Google Drive folder containing their finalized brand files and I’ll upload the website to their host.
14. Training session.
We’ll set up a 30-minute consult call where I walk the client through how to use and update their website.
This is the client process. If you want to know about my design process, read here. If you have any questions or comments about my client process, feel free to contact me or comment below.
-Paigon | Natasha Lane Design Co.