I already talked about why I love InDesign in a previous blog (you can read it here), but I thought it would be helpful to learn how to create a basic word document.
Open InDesign and create a document
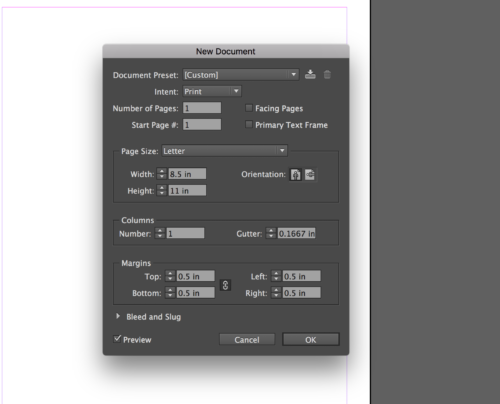
To start, open InDesign. Next, go to file on the menu bar and select new, then document. You should have received a pop-up screen for the new document.
Uncheck facing pages, keep the page size at letter, keep the orientation at portrait, and click ok. Now you should have a blank document on your screen.
Creating text boxes and adding text
Now let’s start creating the text. On the left side of the screen, you will see a toolbar. Select the T (text tool). Now, create a header for your document. At the top of the page, draw a rectangle the size you want the header to be, and it will create a text box.
After you create the box, you should see a blinking cursor for you to begin typing. Type your header, I will type ‘Introduction’.

Changing the font and font size
The font should be small, my font is 12 pts. Above the document, below the menu bar, you will see the bar that has everything dealing with text. On the right side, you will see that the font is Minion Pro Regular and the text is 12 pts.
Select the text and change the font to whatever you like and choose a larger font. I chose 36 pt and Helvetica. If you scan towards the left, you will see the alignment symbols. I chose to align center.

Changing text colors
If you go back to the toolbar. You will see color boxes at the bottom. The one on top is for the inside of the object and the square below that is the color for a stroke (the outer border of a shape or object).
Select your text and double click on the box on top. Since we are using the text tool, the top box has a T with a fill color, and the bottom one is crossed out. Once you double click the top box, you will have a pop-up screen to change the color. Choose the color you like or type in the hexadecimal code.
Note: Since this is for print, colors should be in CMYK. I won’t go into detail in this post, but if you want to know more about colors and what to use when you’re using print and digital, let me know in the comments below or feel free to contact me.
Creating shapes
Shapes can be useful to make the document more interesting. To add shapes, go back to the toolbar and choose rectangle (below the rectangle that has an x in it).
If you want to use the rectangle as your shape, then just select it. To select another shape, you just hold down on the rectangle tool and other shape selections will appear.
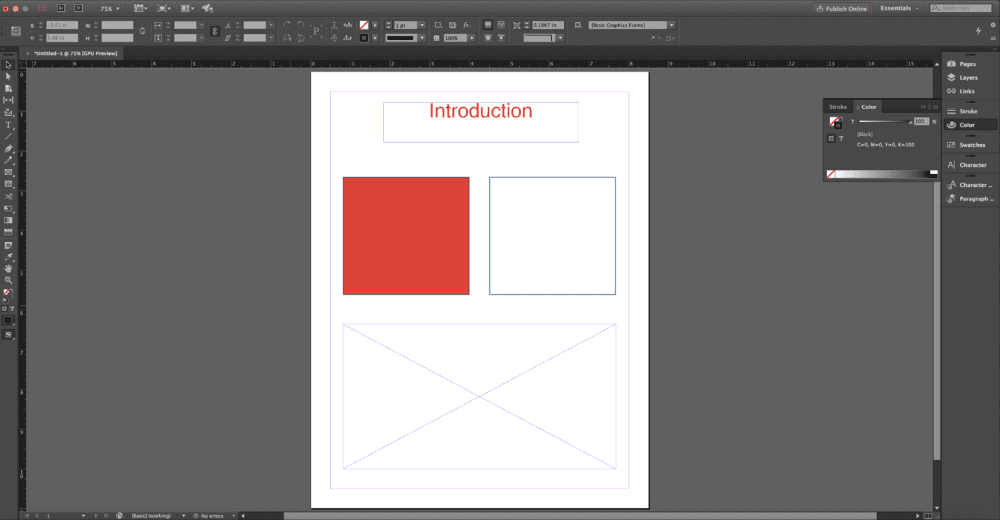
Choose your shape and draw it on the document. Add color the same way you did with the text. Since we’re not in the text tool, the T in the box disappeared. I created 2 rectangles, one with a red fill and a black stroke, and another with no fill and a black stroke.
Creating placeholders
One of my favorite tools is the rectangle frame tool. It’s the tool above the rectangle tool (the rectangle with the x in it). Select the tool and draw inside your document.
You will see a box with an x in it. I always use this as a placeholder. Sometimes I don’t have my images ready when I’m designing something, so I like to use these placeholders to get an idea of what my final design will look like. Then, in the end, I replace the placeholder with the actual image.
Below you will see the image of my final document. I know that this was really basic, but I thought it was a good starting point for beginners who know nothing about InDesign.
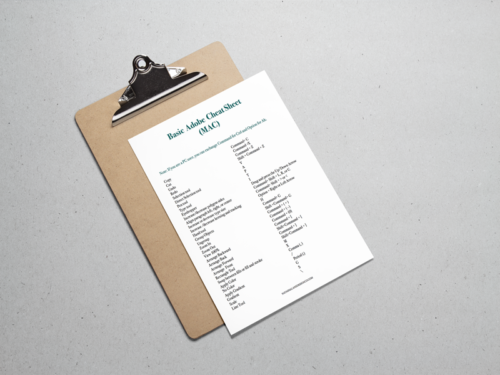
If you would like to know more about InDesign, let me know in the comments below or contact me. Also, you can Access my Adobe Cheat Sheet in the Free Resources.
-Paigon | Natasha Lane Design Co.

