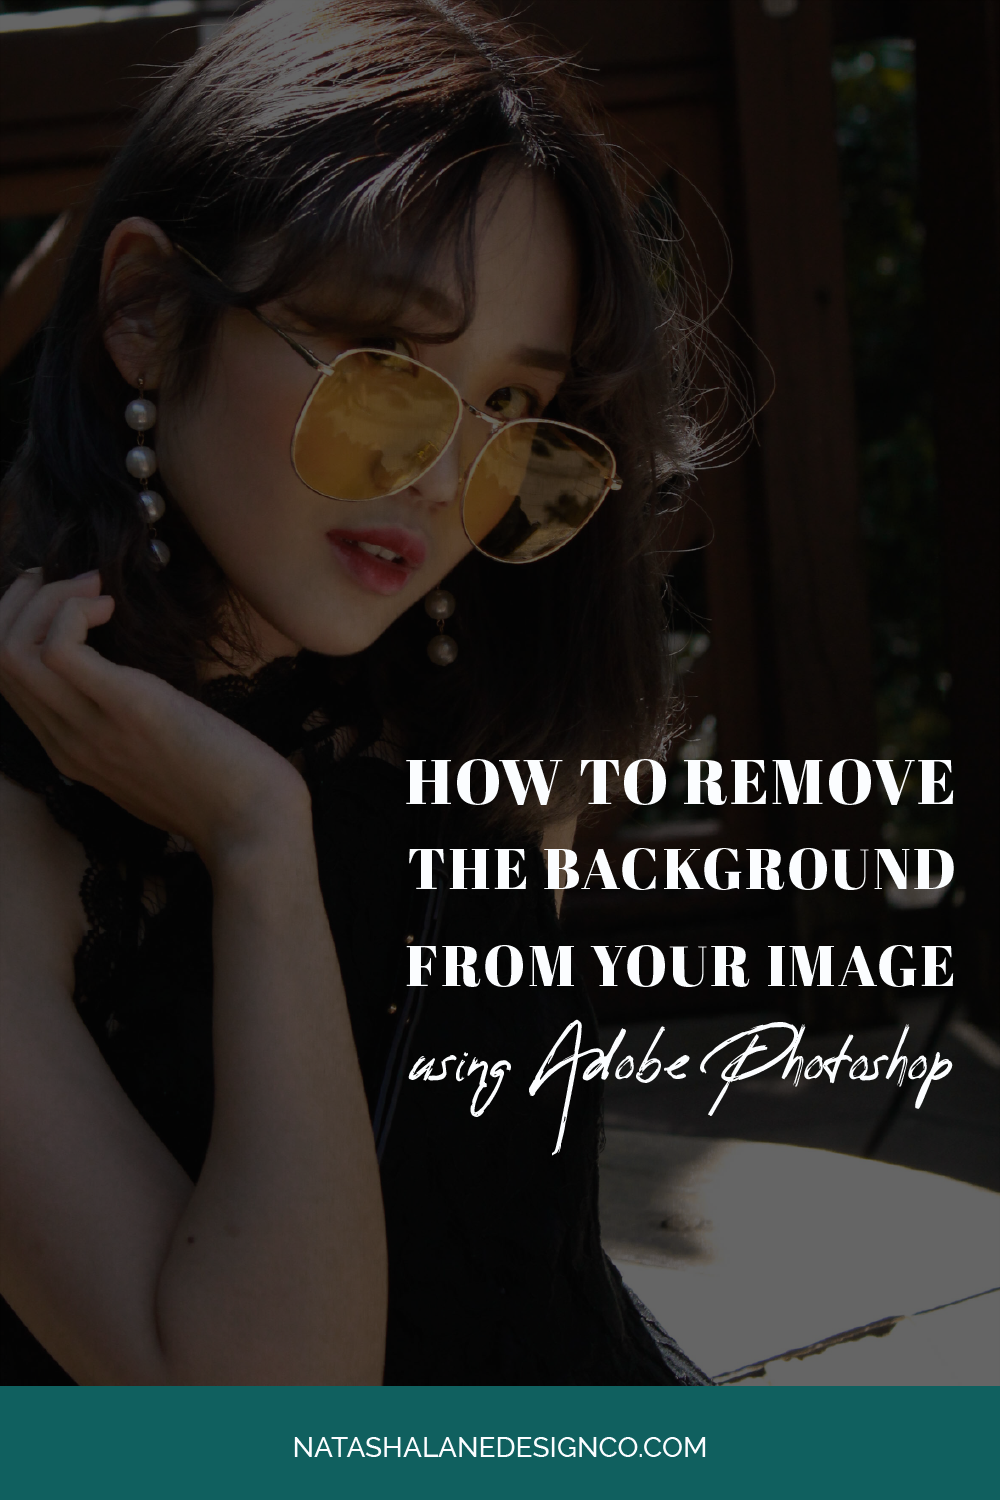
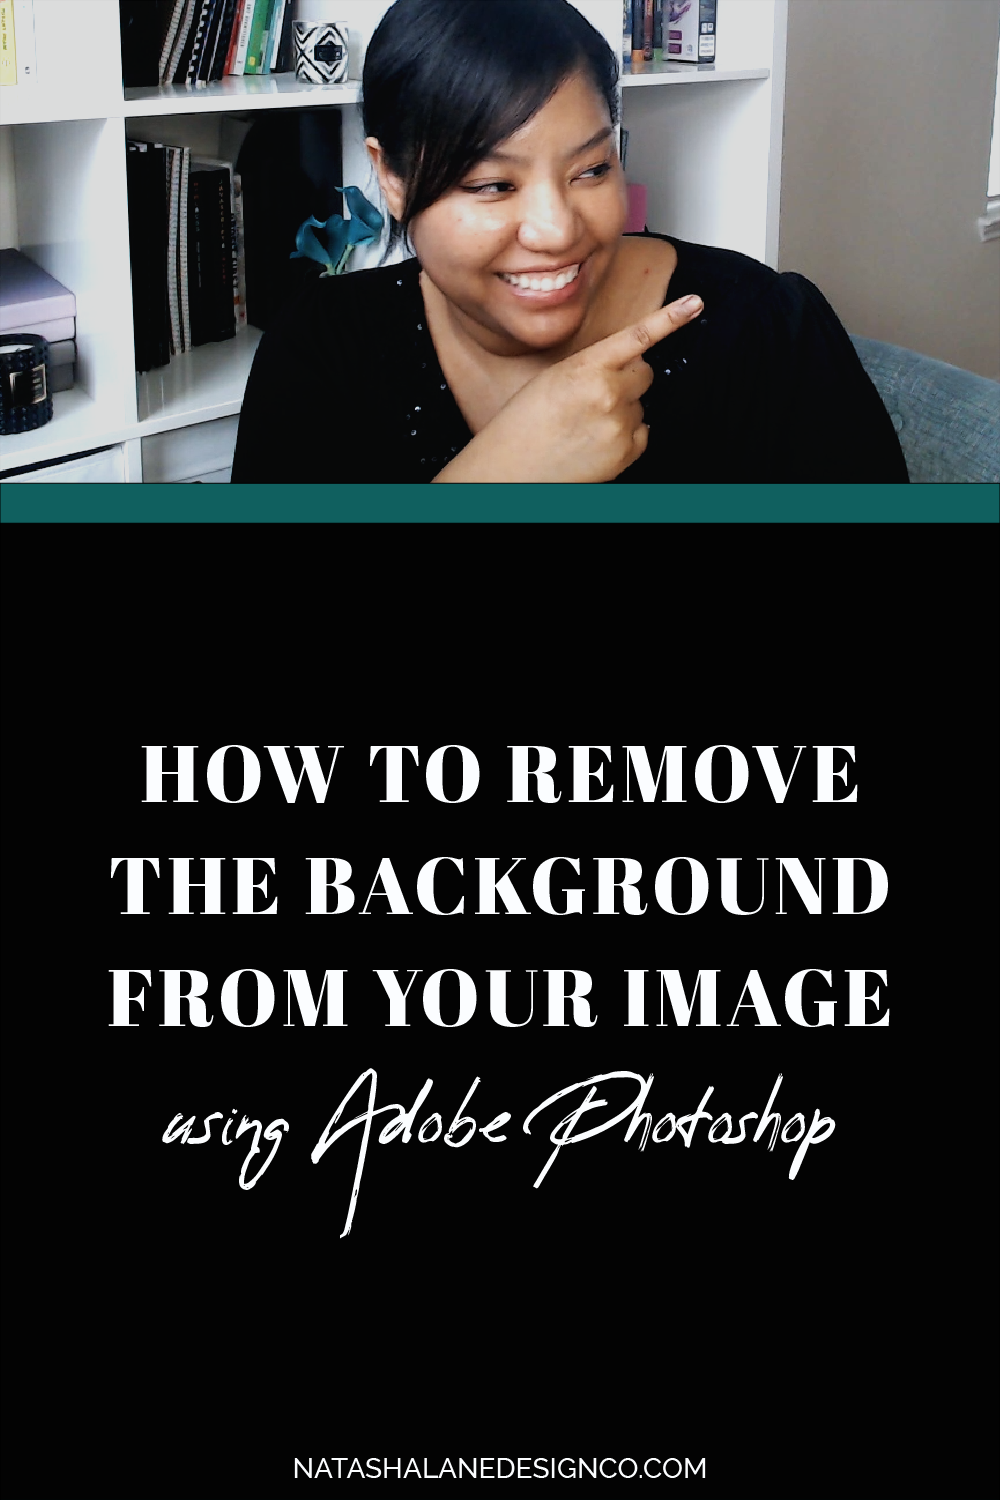
Want a simple way to change the design of your thumbnail graphics? Remove the background of your photos. Removing your background, but keeping your image is a simple solution to creating unique designs for your YouTube channel. Learn more about how to remove the background from your image to create YouTube thumbnails using Adobe Photoshop.
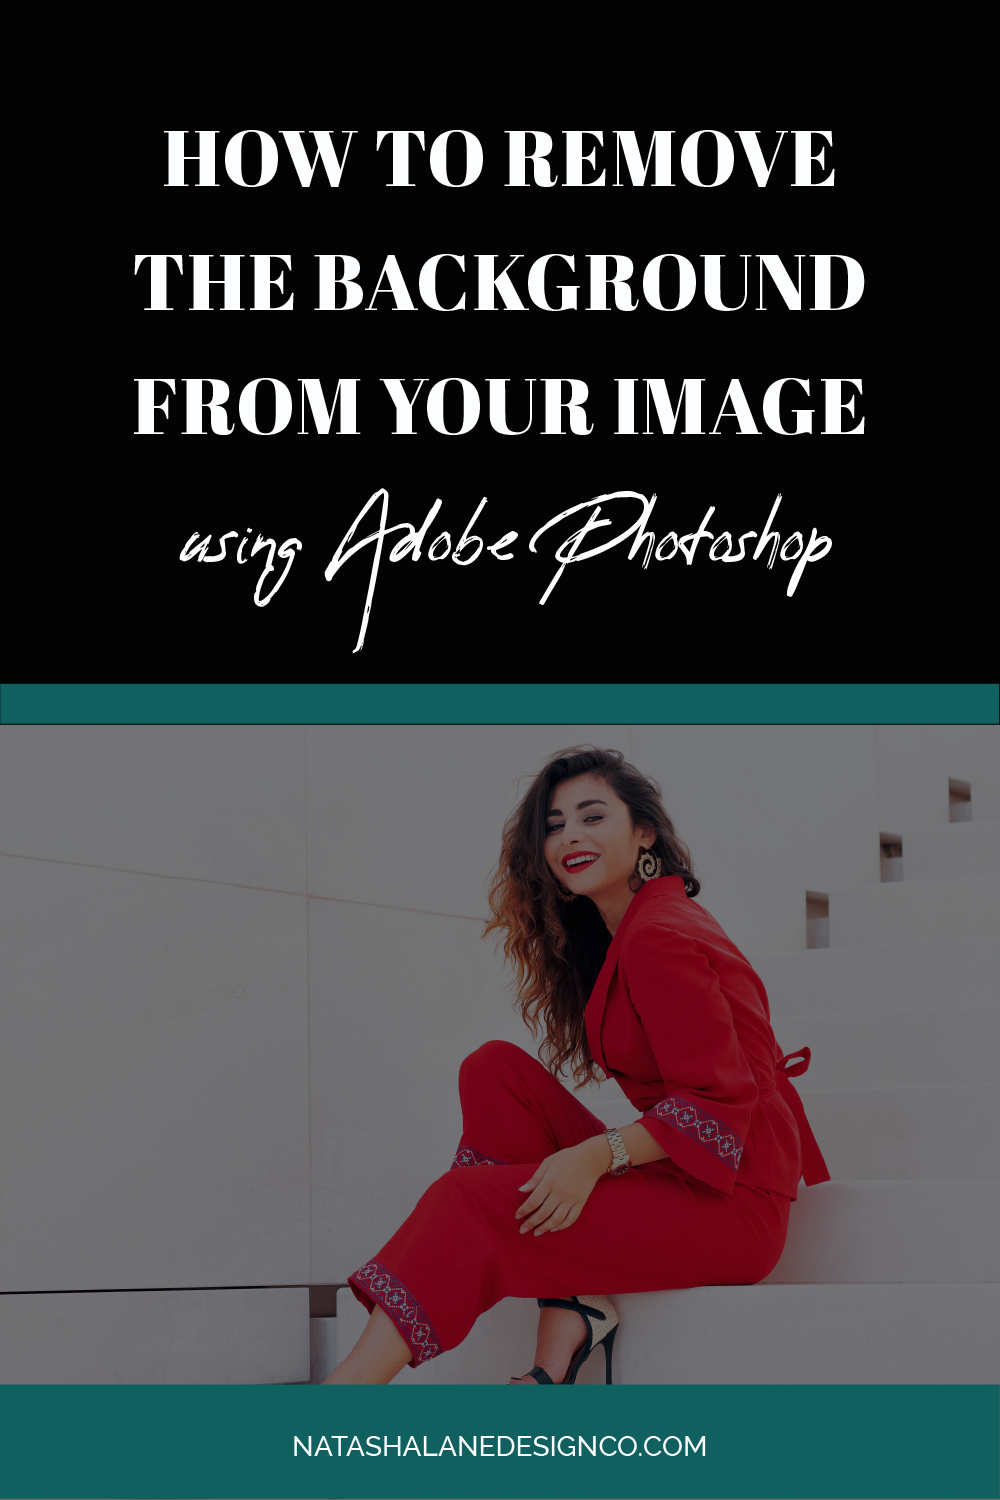
How to remove the background from your image to create YouTube thumbnails using Adobe Photoshop
If you’ve been paying attention to how different YouTubers design their thumbnails, then you’ll notice that cutting yourself from the background is a trend. Personally I like this trend because it gives you more options when it comes to designing your YouTube thumbnail. In this Photoshop tutorial, I’m gonna give you two ways to remove your background.
Remove the background from your image by selecting your image
The first thing I’m going to do is open the image I want to use in Photoshop. Then to start removing the background, I’m going to choose the ‘Quick Selection Tool’. Once I select the tool, I’m going to start selecting the image.
When I make a mistake and want to deselect something, I will deselect by hitting the option key on my Mac (I think it’s the alt key on a PC). Once I’m done with the selection, I’m going to go into ‘Quick Mask Mode’. I can hit the ‘Q’ on the keyboard. You see everything unselected turns red.
Now, I’m going to choose the brush tool. The black color will color the image red (deselect the image). The white color will select the image. If you want to make the brush bigger, hit ‘}” on the keyboard and to make the brush smaller, hit ‘{‘.
Once you’re done cleaning up your image, you can go back to ‘standard mode’ by hitting the ‘Q’ on the keyboard. Once you’re done, you can add a layer mask. Once you click the layer mask icon (on the rectangle with a black circle at the bottom right under the layers panel), you’ll see the background disappears.
Remove the background from your image by selecting the background
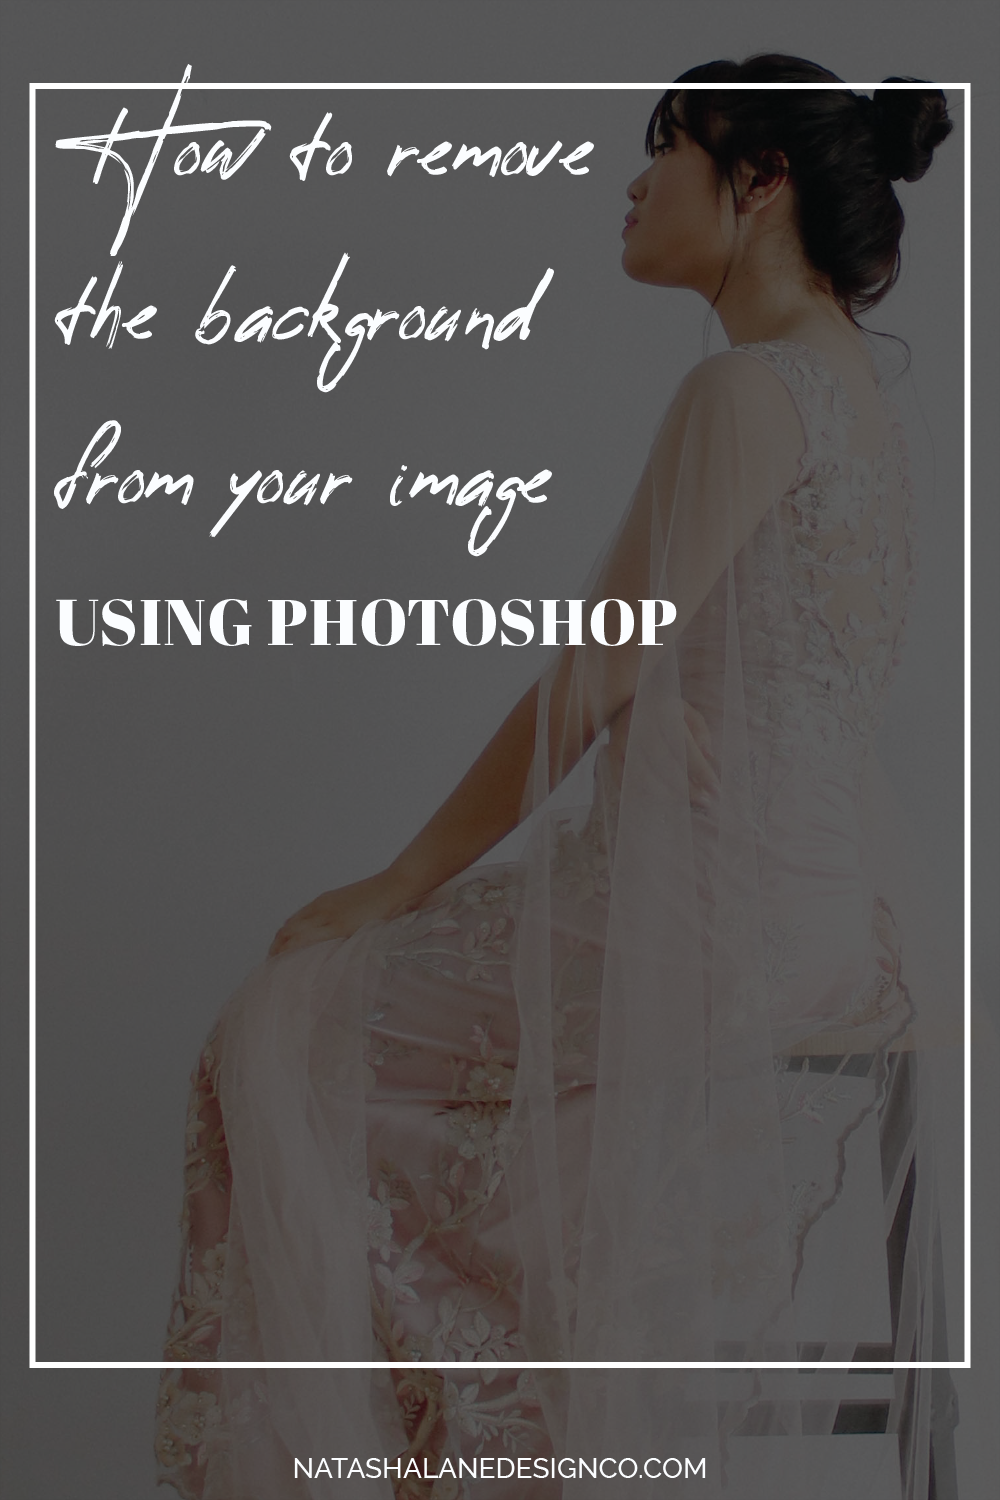
Another way to remove the background (an easier way), is to have a background that’s the same color in the background. When the background is all one color it makes it really easy to select the background instead of yourself to cut out. I’m going to change the image to one with an all-white background.
Choose the quick selection tool again, and select the background instead of the subject/person in the image. It’s way easier to select because everything is the same color. If you’re taking photographs of yourself for your YouTube thumbnails you might want to consider doing it in front of a background that’s all one color. For example, like a green screen.
If you know you’re taking pictures, maybe you just wanna have a green screen and just have a photo session in front of the green screen, and then you can just select all the green from the green screen and remove it. That would be really simple. But the process of cutting yourself out is a little bit different.
Because we selected the background instead of the subject, we have to follow another step. We’re going to go to ‘Select’ and choose ‘Inverse’. Now we can go to the layer mask and it removes the background just like the first photo.
Those are the two ways to remove your background from your image. This is perfect for creating a branded YouTube thumbnails.
Do you remove the background from your images? Let me know in the comments down below.
If you wanna learn more about how to brand your YouTube channel you can actually sign up for my free five-day email course, Brand Your YouTube Channel here. The course includes a workbook, video tutorials, and other resources to help you brand your channel.