Are you frustrated with how your YouTube thumbnails look, but can’t hire a designer to design the thumbnails of your dream? Well, YouTube thumbnail templates are a cheap and simple design solution. You just have to update the YouTube template to fit your brand. Here’s how to use a youtube thumbnail template.
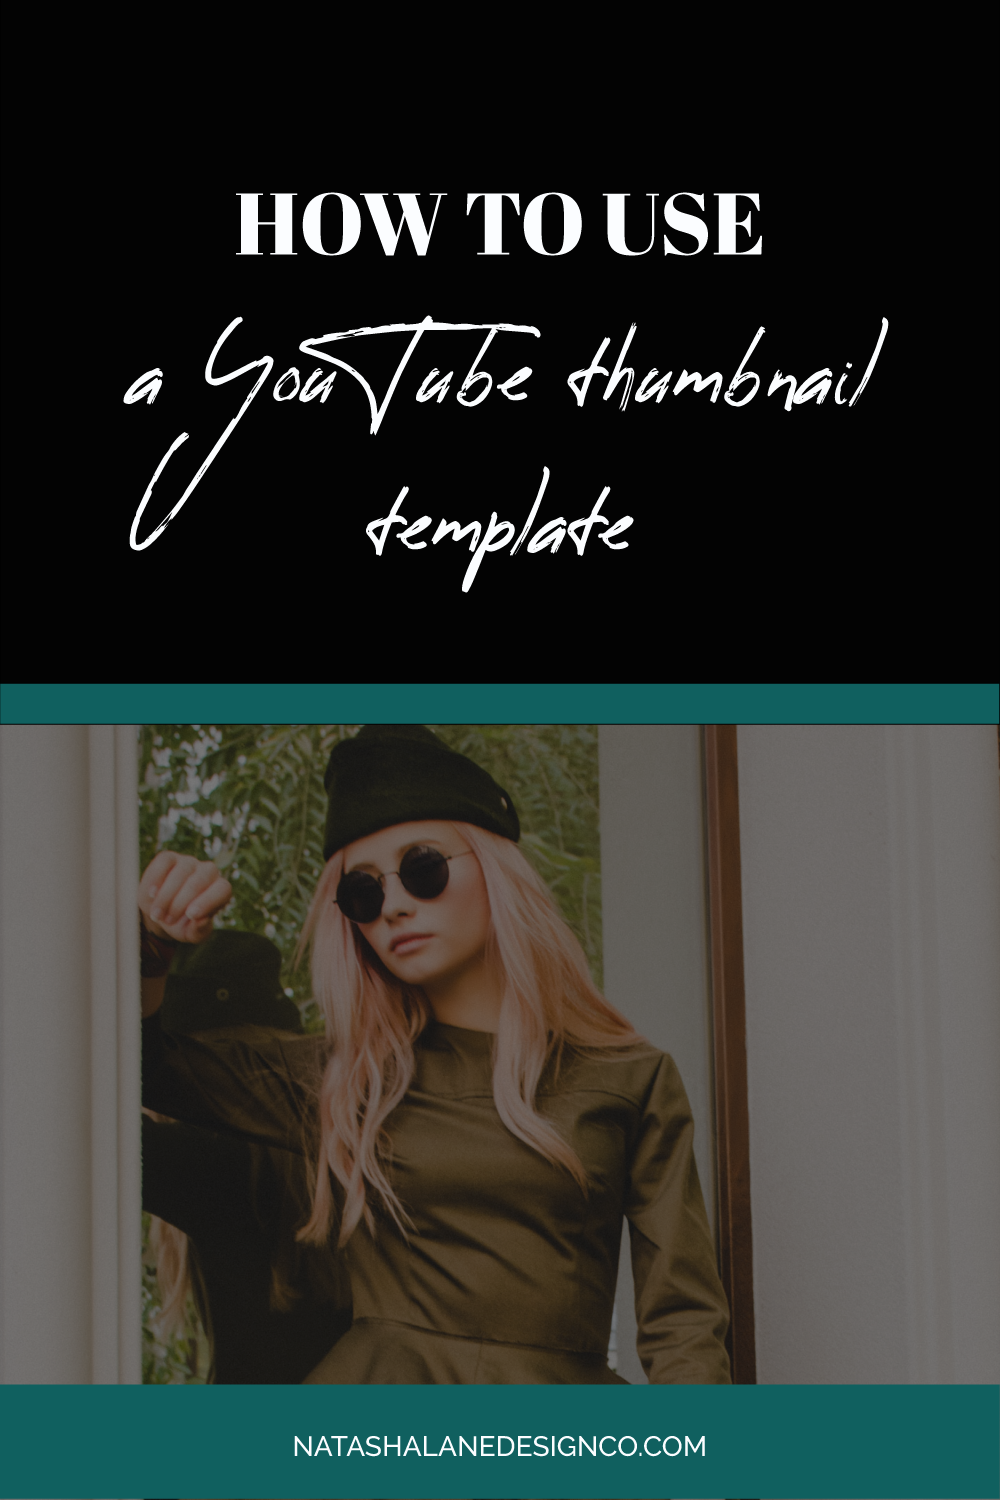
How to use a YouTube thumbnail template
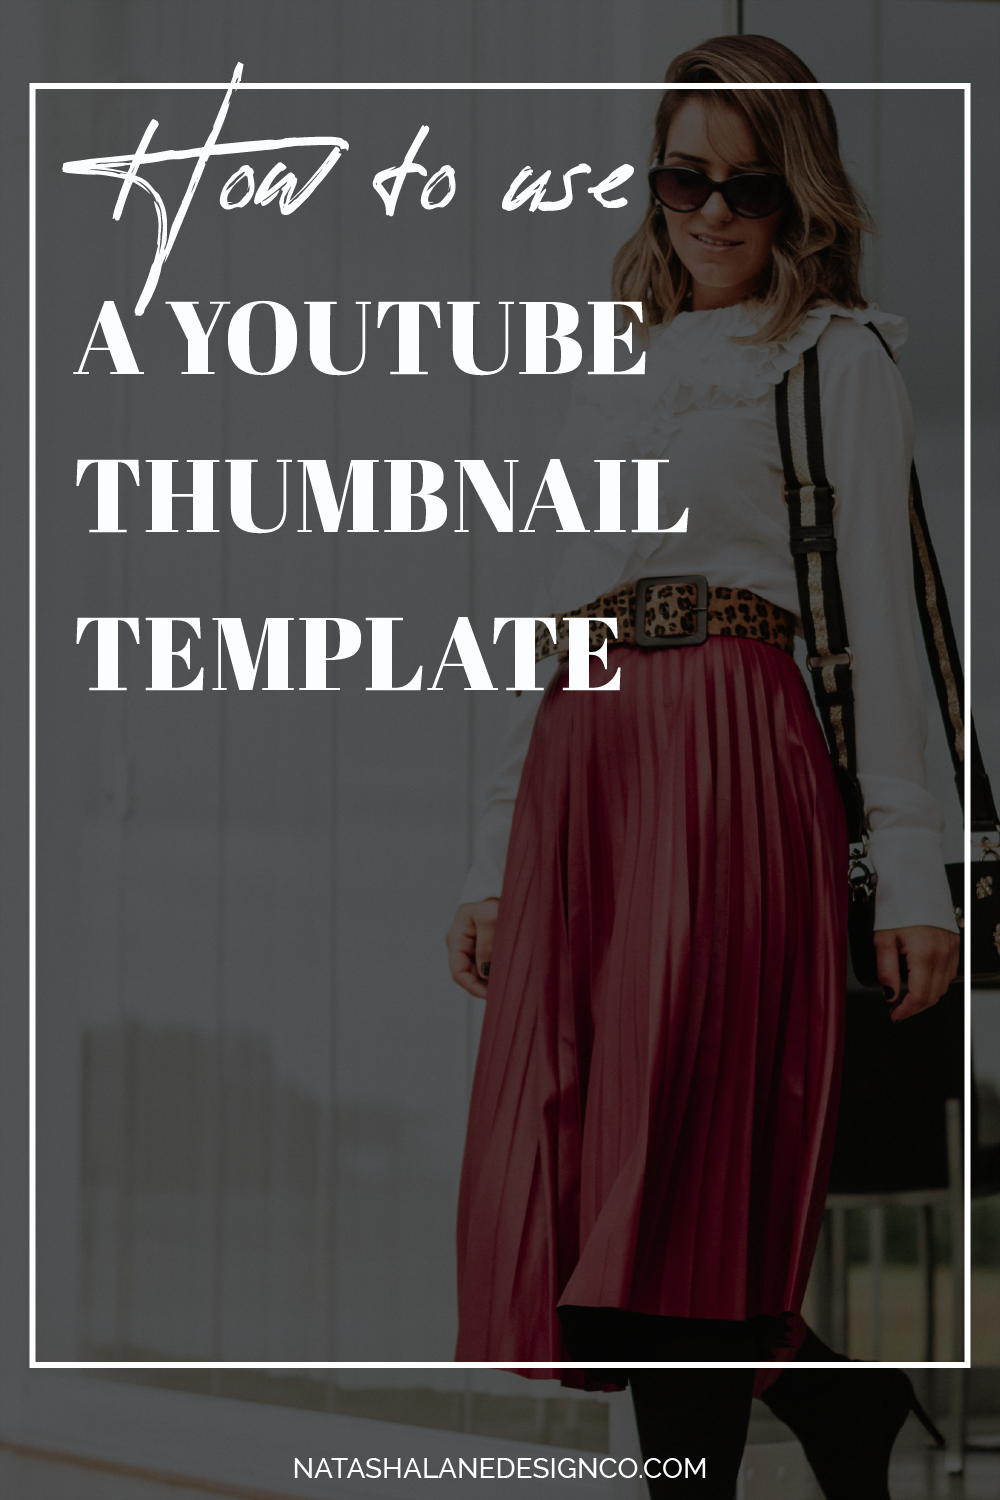
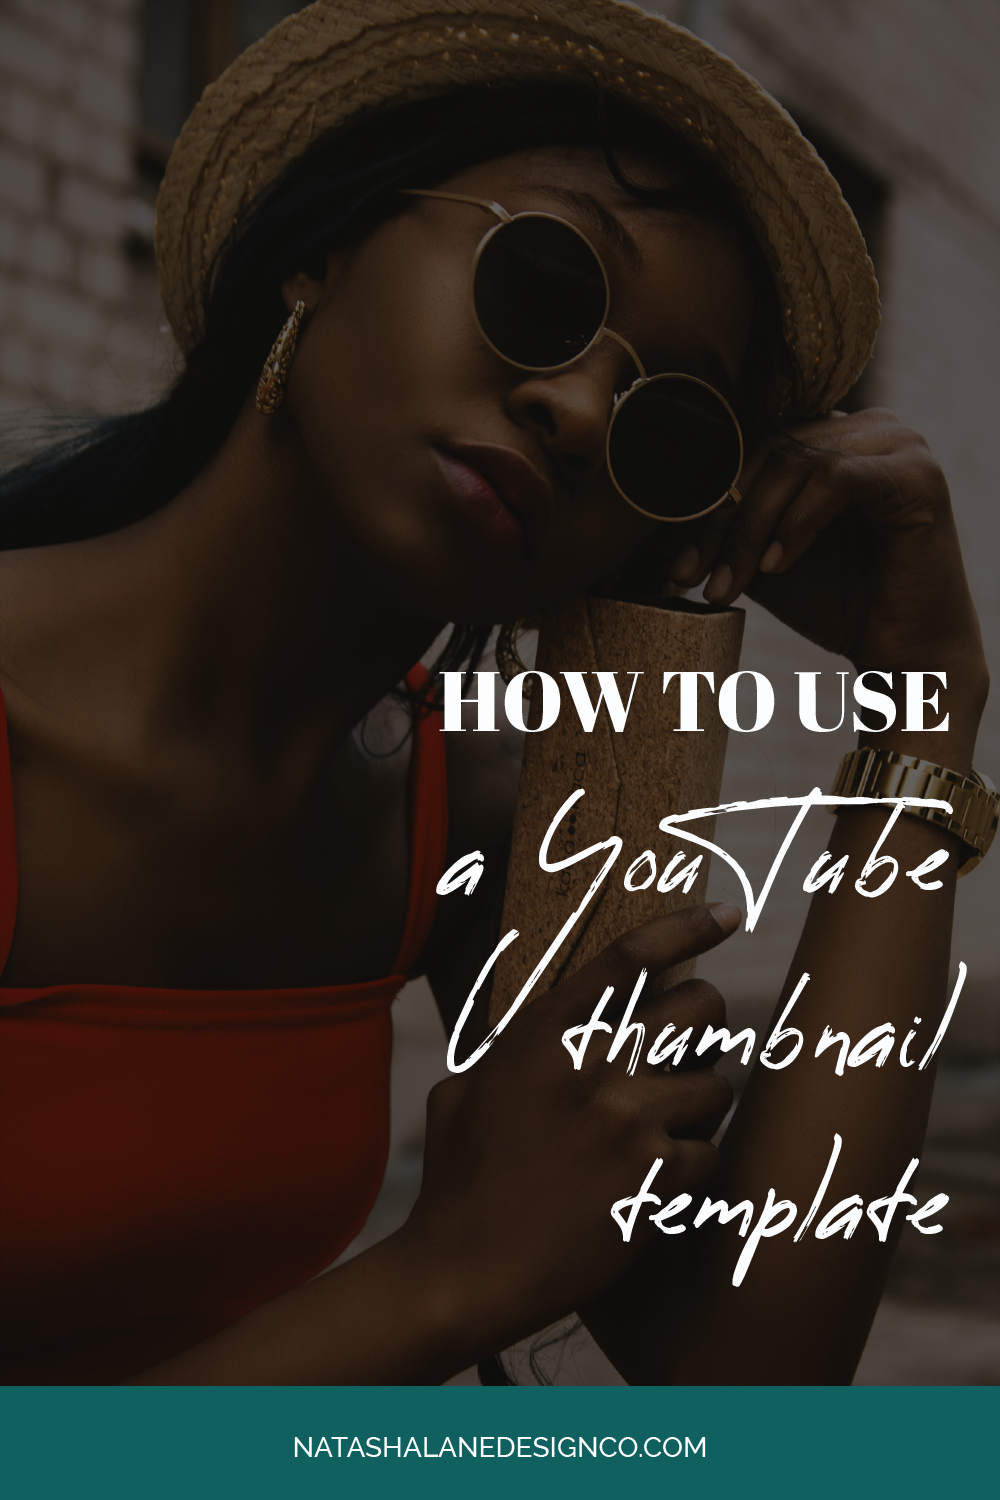
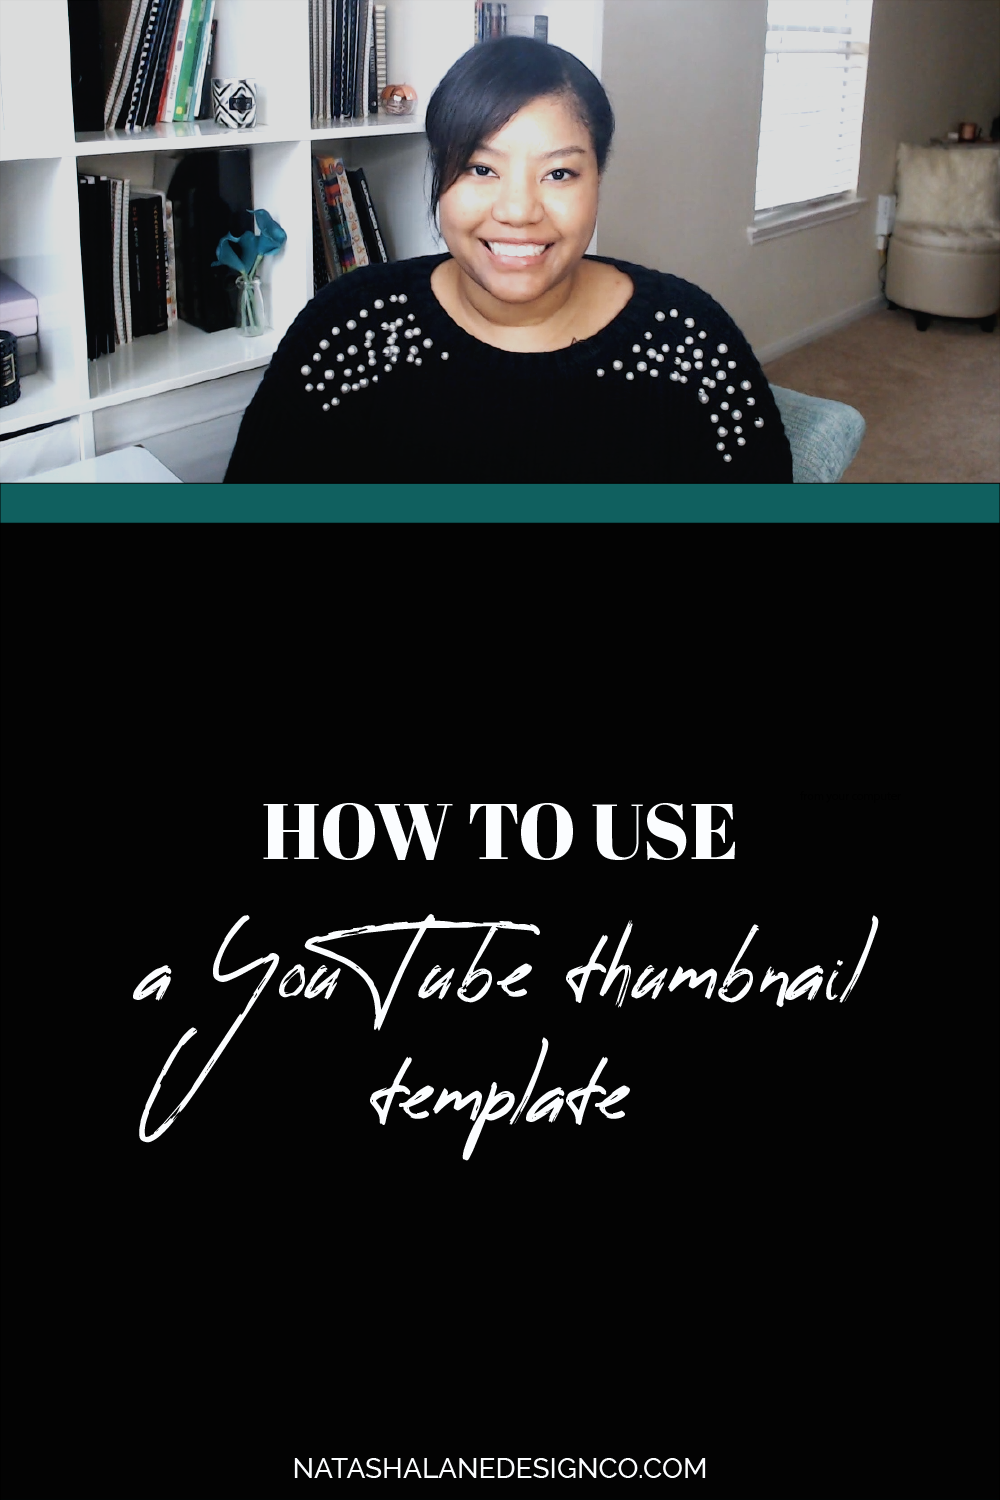
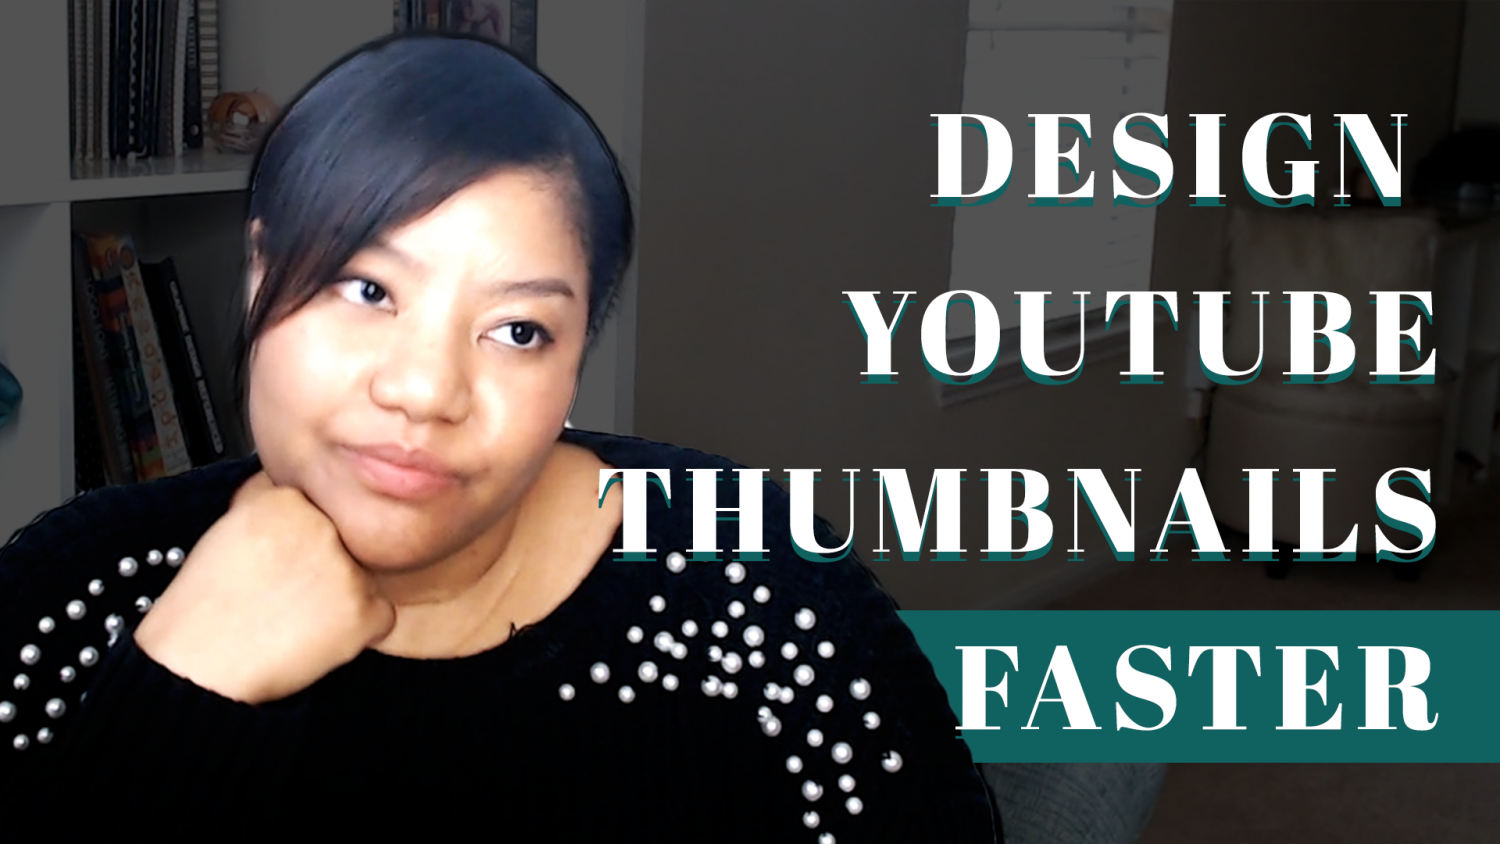
This YouTube thumbnail template I’m using comes with 4 different types of YouTube thumbnail templates. I’m going to demonstrate how to use them to fit your brand.
How to change the YouTube thumbnail template image
For this template, the black area is the background image area. To change the background of your thumbnail, you just click to open the folder “Your thumbnail image here.”
I’m just going to pick a random image and I’m going to go to file to choose my image. You can either choose ‘place embed’ or ‘place linked’. Place Embedded means that the image is gonna stay there. Place Linked will place the image there, but it will link to the photo instead of embedding it to the file. That means if you’ve moved the image file to another folder, or move it somewhere off your desktop, the image will disappear.
It doesn’t matter which one you pick. I usually pick ’place linked’. Once I choose my image, I’m going to fill the whole area then save. Make sure you save the file, or else it won’t show up on the main template.
Just so you know, there’s a color overlay over this image. You can turn it off or on. If you leave it on, you can choose another color by double-clicking it, and choosing another color, I’m just gonna leave it the way it is. You also have the option to change the transparency.
How to change the font to your brand font
Now, to change your thumbnail title, you just click on the folder labeled ‘Your Thumbnail Title Here’. Once you open the folder, you’ll see a top and bottom part because I used 2 different fonts. You just double click the top text to change the top text and double click the bottom part to change the bottom text.
If you want to change the font and size, go to the ‘properties panel’ or the ‘character style’ panel to choose the fonts that fit your brand.
There is a drop shadow on the top text. You can toggle it on or off. You can also double click it to change the color.
How to change the colors to your brand colors
You can change the color of your text to your brand colors by changing it in the ‘properties panel’ or ‘character style’.
You can also change the background overlay to your brand colors and move your image to go on top of it. To learn more, you can learn how to remove backgrounds from photos using adobe photoshop here.
Once you’re done with the template, you can save and export the final image so you can upload it to YouTube. You have 2 options for this. You can go to ‘File’ and ‘Export’ and choose ‘Quick export as PNG’ or you can go to ‘File’ and ‘Export’ and choose ‘Save for Web’ and either save it as a PNG or JPEG (if you need a smaller file size).
That’s how you use a YouTube thumbnail template. The first time you use a template it takes the longest because you have to change the fonts and the colors to fit your brand, but after you save the Photoshop file with your brand elements, you’ll only need to change the title and the image on your thumbnail.
How do you design thumbnails for your YouTube channel? Let me know in the comments down below.
If you’re interested in having your own YouTube thumbnail template, you can check out my YouTube thumbnail template here.