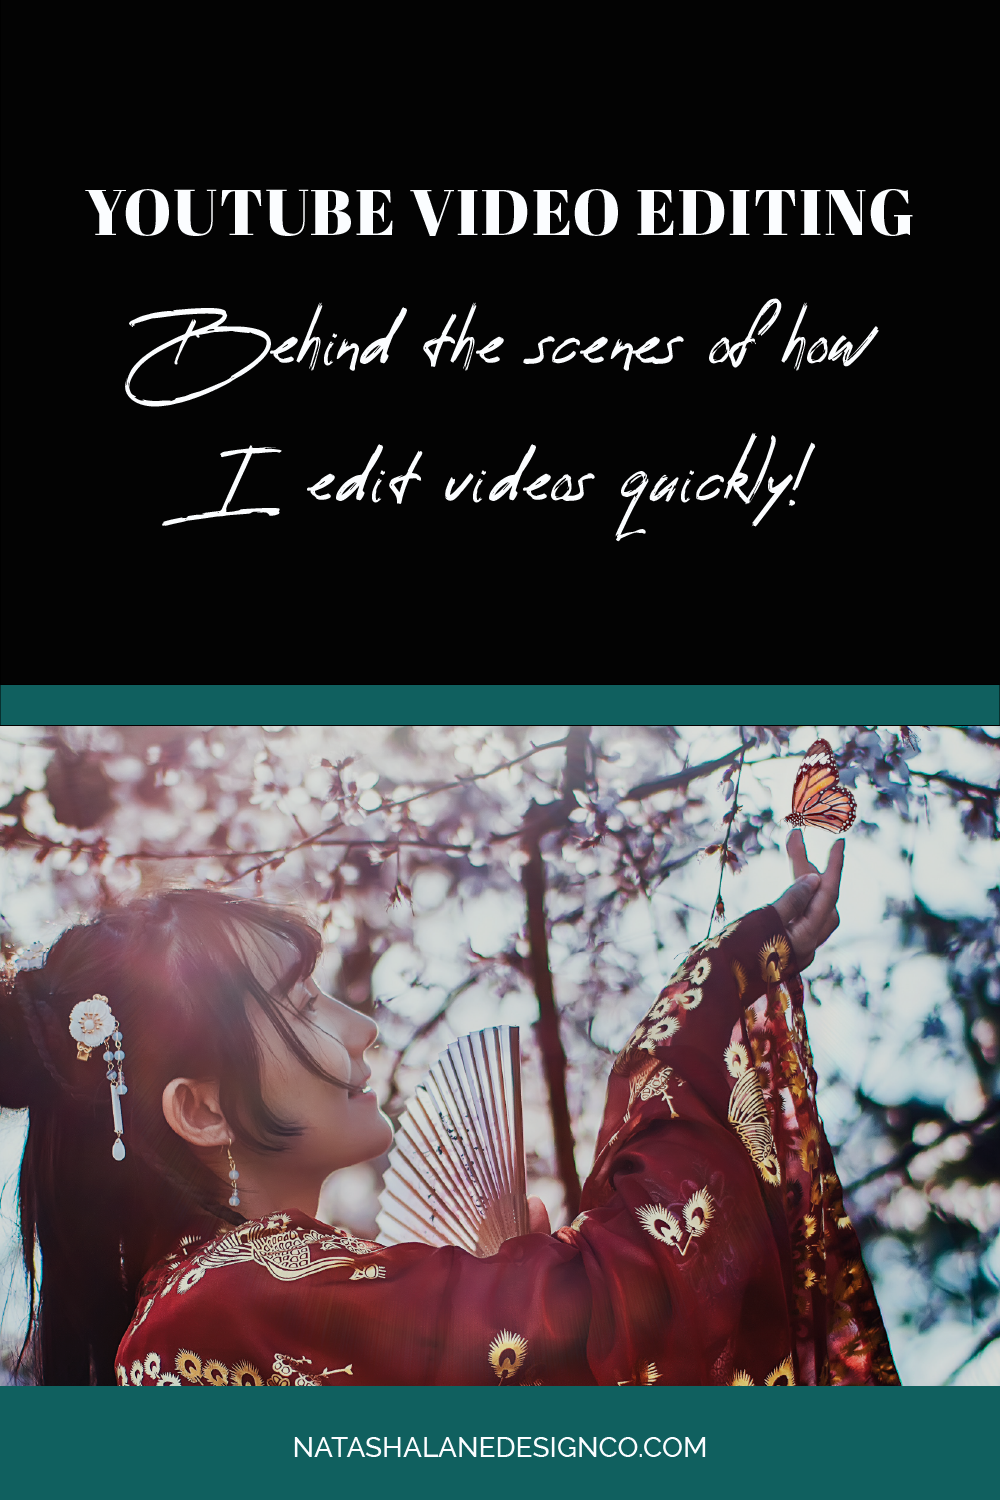
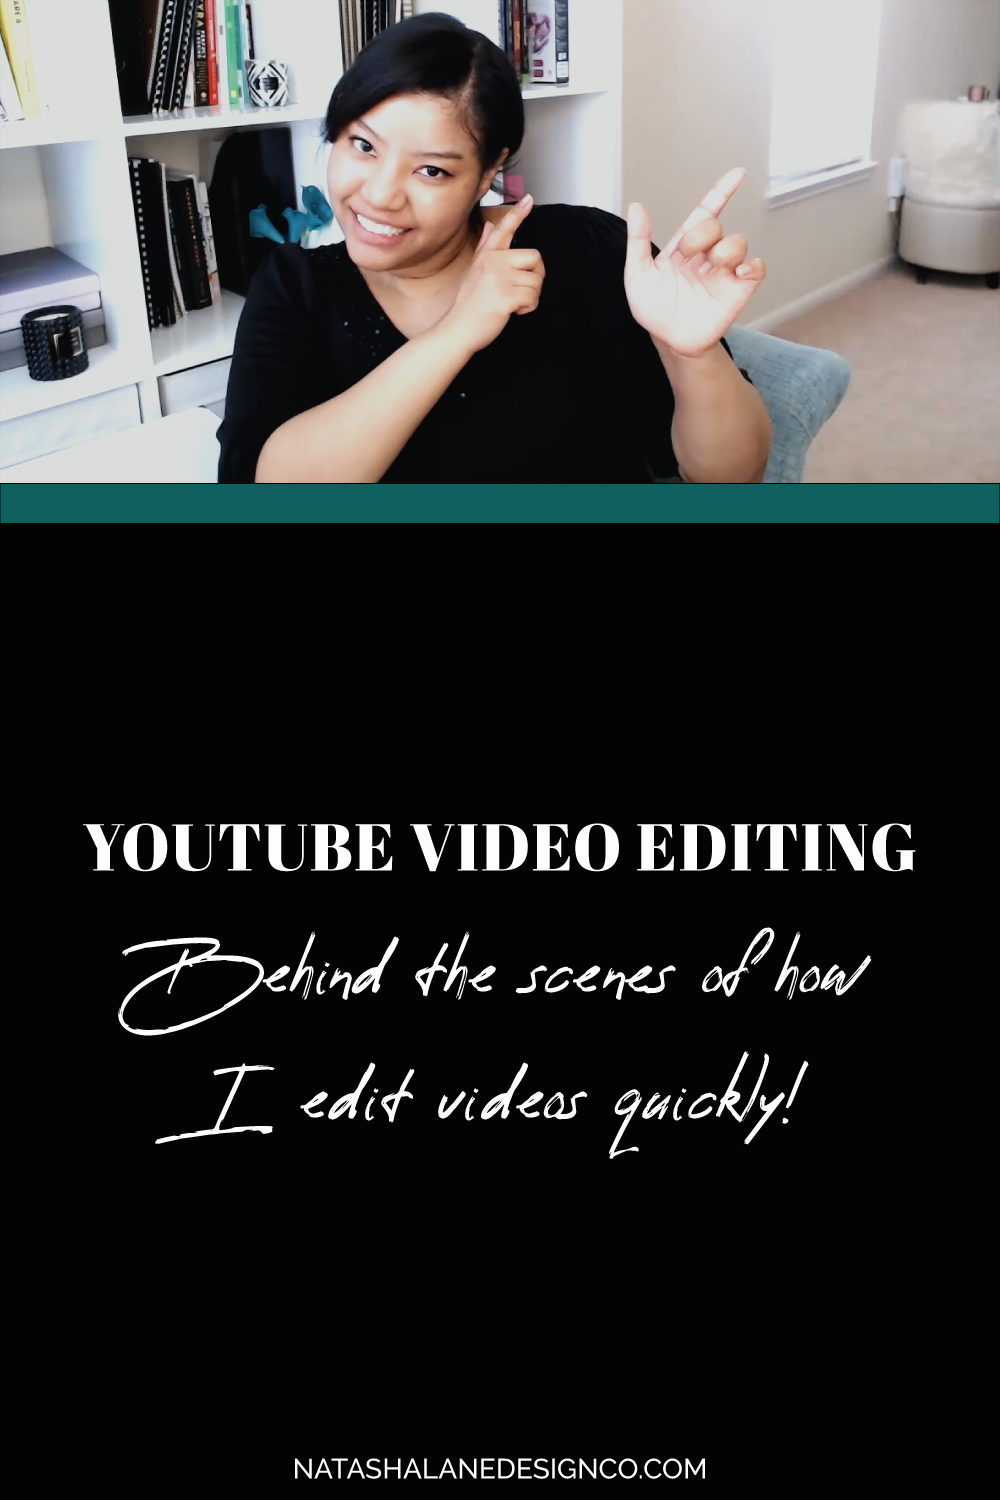
I made a couple of videos on how to edit videos, but I wanted to give you a behind the scenes of how I edit videos quickly for YouTube. Just so you know, everything in planning and filming has to be organized before you even start editing. Get an inside look at my YouTube video editing process.
YOUTUBE VIDEO EDITING (BTS of how I edit videos QUICKLY!)
Today I’m going to be talking about YouTube video editing. Specifically, I’m going to give you a behind the scenes look at how I edit my videos quickly. So I know I’ve talked about simple video editing or video made easy in a video before but I thought it would be easier to show you how I actually edit my video.
01 Get organized
Before I get into how I edit my videos quickly for YouTube. I wanted to talk about planning and filming. Those two have to be organized before you can quickly edit your videos. So if that’s a mess, then this video editing isn’t going to work.
Open Adobe Premiere and name your project after the video that you’re actually editing. A few weeks ago, I talked about organizing your video files. You’re going to add your Adobe file (or your software file) to the folder called ‘Editing’ your YouTube video file. Make sure all your files are named correctly. Even your footage should be named with your final video title and then numbered in sequential order.
02 Import your files
Now you’re going to import your files. So I’m going to import my video files. The shortcut is actually ‘Command + I’ or ‘Ctrl + I’. Go to your video folder and choose your ‘footage’ folder. This is why it’s important to organize your files. Instead of going one by one looking for the footage I need for this video, I just imported the whole file and all the footage is there. You can also import your branding folder, audio folder, B-roll footage folder, and so on.
03 Drag and drop your footage to the sequence
Grab the first video footage and just drag and drop the footage to the empty sequence area. You see the sequence is automatically named after the footage. This is the reason why I don’t put a number one on the first footage. I just named it the final video title. If you filmed in sections, you can start adding each section (one, two, three, four, and so on) to the sequence.
04 Make corrections to audio and color
Now, we’re going to start the YouTube video editing process. What I like to do is check the audio and correct the color first. Make sure you always have headphones on whenever you edit your videos so you can listen to the audio properly.
The first thing we’re going to do is correct the audio. Whenever I edit the sound, I actually edit the sound in Adobe Audition. If you right-click on the footage, there is the option to open the file in Adobe Audition. I usually choose this option and then edit out background noise like the constant humming of the AC or other background noise.
Lately, I haven’t had to do this because I’ve been using Zoom to film my videos. I don’t know what it is with Zoom but Zoom automatically edits out that humming noise in the background. I don’t know if that’s standard practice.
So besides editing out the noise on my videos, the other thing I like to do is raise the volume of my voice because I naturally have a low and quiet voice. I thought that a microphone would help but it really doesn’t. So most of the time, I have to raise my voice level because I have such a soft voice. Usually, as long it’s between -12 and -6, I’m okay. But because it’s a YouTube video, sometimes I want it to hit zero.
Just another tip, if Adobe Audition looks too hard to use and you have problems with your sound like a constant humming, you can actually use a plugin. If you go to ‘Effects’, it used to be called ‘adaptive noise reduction’ but now it’s called ‘DeNoise’. You can drag and drop it to your audio file. It doesn’t fix all the problems (that’s why I use Adobe Audition), but it helps.
Color correction and color grading
The next thing I do is color correction and color grading. First, add an ‘Adjustment layer’ on top of all your footage. You’re going to add the color corrections and the color grading on this adjustment layer. Have the adjustment layer active, go to ‘Color’ at the top of the editing software. Here, you can actually change the temperature, change exposure, whites, blacks, contrast and so on.
I actually created my own style for my videos as part of my branding. So I don’t really manually mess with the colors anymore. I did it all in Photoshop and I created a .CUBE file. I’m going to add my ‘natashalane.CUBE’ file to change the lighting and color of my videos. You’ll notice the blacks, the black color is blacker and the whites are whiter. So this is the look that I like to have for my videos. I like to create a different file for my clients based on their brand.
05 Start editing out the bloopers
Once you’re done with audio and color, you’re going to actually start editing your YouTube video. At the beginning of my footage, in the first section, I always pose for my thumbnail. I’m going to go ahead and grab pictures from this footage so that I can keep them for later. I’m just going to export the frames.
Once I’ve finished going through the images I want for my thumbnail, I’m going to start editing the footage. I know that every time I make a mistake, I clap. This saves me time editing because I can scrub the video for each time I clap and just skip to the last clap. In this video, you see I skipped 4 minutes of footage. This saved me a lot of time skipping all my mistakes.
I press ‘C’ for cut and then delete the footage I don’t need. You can press ‘V’ to go back to the selection tool. If you’ve filmed in sections and clapped every time you made a mistake and started over, you’ll see how much time it saves in the video editing process. When you’re editing, you’re going to look for each clap. So you’re going to keep doing this for the rest of the sections.
Add markers while you edit your videos
While I’m editing my YouTube video, I’m actually going to add markers. That’s the bookmark looking icon. You can also hit M on the keyboard instead of clicking the icon. Whenever I know I need to add graphics, text, B-roll footage, or any other extras to my video, I mark it. I like to use different colors to signify what each mark means. Like I use green for all my text graphics.
So I just finished editing out all the bloopers. You can see that I mostly use jump cuts, I didn’t really use any transitions. For YouTube videos, especially talking videos, jump cuts are probably your best friend whenever it comes to editing. If you’re doing something like lifestyle videos, beauty videos, or if you’re doing something where there’s a time-lapse, then transitions would probably be good for you. But if you’re just talking then you’re probably using jump cuts.
06 Adding extras (B-roll footage, graphics, background music, and sound effects)
After editing all the footage, you’re going to start adding extra stuff. One thing I always do is I always add a transition to the beginning of my videos. I always add a cross dissolve. Next, if I have any B-roll footage, I’m going to add that to the video. I use the colored markers to let me know where the B-roll footage goes. The same goes for any graphics or text I need to add. You can add background music and sound effects.
Pro tip: Save everything as you go. Just use the ‘save’ keyboard shortcut. For a Mac, it’s command + s, for a PC it’s control + s.
Whenever you’re editing your video, make sure you randomly save your video just in case something happens. One time I was editing while it was raining, and I lost everything and had to start over.
07 Export your video
Okay, so I just finished editing the YouTube video. I think that’s everything that I need. So I’m going to save the video, then I’m going to render my project. I’m going to go to Sequence up at the top, then I’m going to go to ‘Render Entire Work Area’. Once you finish rendering the video, save the video again. I do that just in case something happens and I won’t have to render the video again. It always takes 50 million years to render a video (just kidding!).
Finally, we’re going to export the video. Go to File, Export, and then Media. Usually, I just hit Command + M (control + m on a PC) to export. The first thing you see is the output name, that’s the name of the video. Because the sequence is already named after the video, I don’t have to do anything. It automatically names the video after the sequence.
Then I’m going to make sure the final video will be saved to the correct file. I just click on the output name and change the file destination. Before I export, I’m going to render at maximum depth and then I’m going to choose export.
If I was editing more than one video, I would actually add this to a queue instead of exporting the video. When I choose ‘queue’ Media Encoder would open up. Media Encoder would then export my video out and save it so that I can edit another video in Adobe Premiere at the same time.
Once your video is done exporting, you can upload your video to YouTube. Naming your video file was the first step to optimizing your video. Last week, I showed you all the things you need to do to optimize your video. If you missed it, you can check it out here.
Next week, I’m going over all the things you need to start your YouTube channel. It’s called “IT’S NOT TOO LATE! (How to start a YouTube channel 2020)”. If you want to get notified when that video goes live, you can subscribe here and hit the notification bell.
Does video editing hold you back from creating videos? Let me know in the comments below.